
You lock yourself out or face a broken latch, and suddenly you need to know how to make a lock right now. Commercial options are great, but building your own from cardboard or a fork teaches real mechanics and solves immediate privacy needs.
This guide shows you two working designs: a cardboard sliding bolt for learning and a metal fork wedge for emergency door security. You will get exact measurements, clear assembly steps, and troubleshooting tips so you can build, test, and deploy each system with confidence.
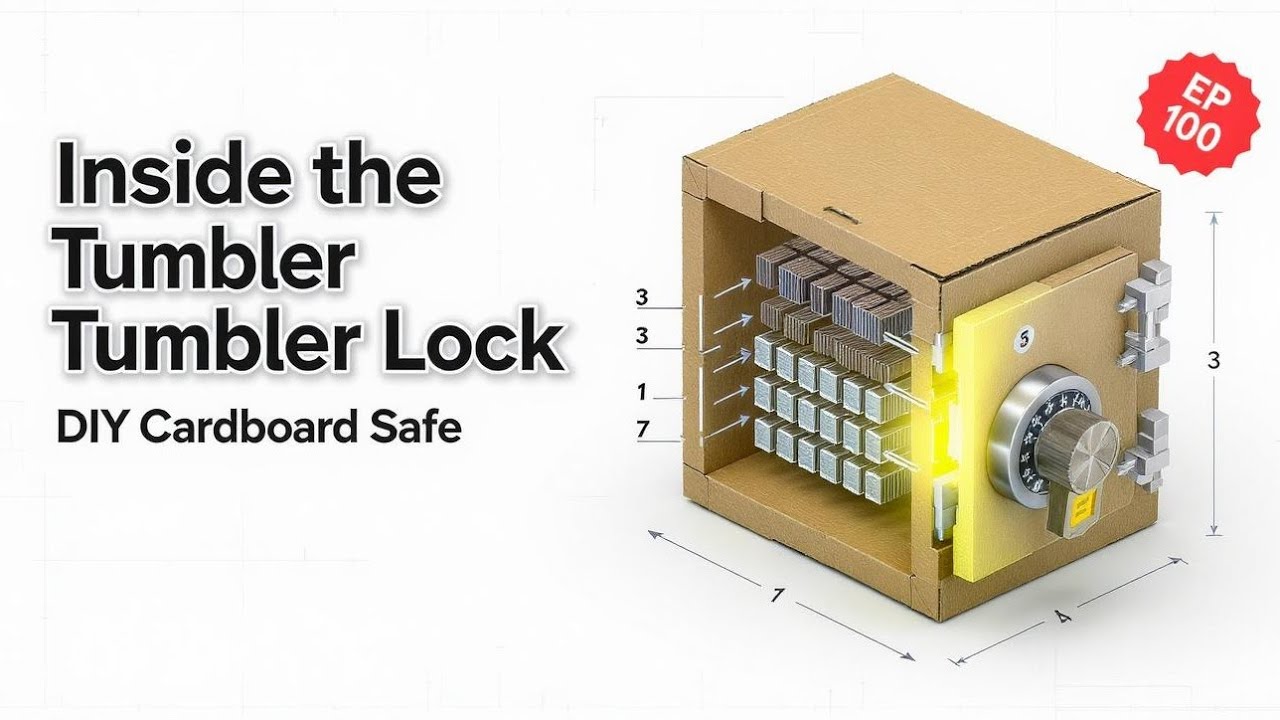
Build a Cardboard Sliding Bolt Lock for STEM Learning

This model mimics a deadbolt using interlocking parts and linear motion. It is ideal for classroom demos, model doors, or creative prototypes where you want to see mechanics in action.
Cut Precise Components from Rigid Cardboard
Start with sturdy cardboard that holds its shape under light tension. Cereal box material is too flimsy for reliable movement.
- Base: 10 cm by 6 cm foundation platform
- Sliding Bolt: 2 cm by 6 cm rectangle with a centered hole
- Housing Sides: Two strips longer than 10 cm with inner notches to guide the bolt
- Locking Tab: Small strip attached to the front of the bolt
- Key: Thin cardboard strip with a notched edge matching the tab
Use a utility knife and ruler for clean cuts. Score first, then slice to avoid jagged edges that cause sticking.
Assemble the Housing and Install the Pivot Axis
Attach the two housing sides to the base with tape or glue, forming a narrow channel for the bolt. Ensure the inner notches face inward to keep the bolt aligned during sliding.
Place the sliding bolt inside the channel. Align its center hole with matching holes in the housing sides. Insert a wooden skewer or thin metal rod through all three points to create a stable pivot axis.
Test the motion. The bolt should glide smoothly back and forth. If it sticks, widen the channel slightly or sand rough edges.
Fit the Locking Tab and Cut a Matching Key
Glue the locking tab to the leading edge of the bolt. When extended, this tab must catch on a lip or notch in the housing to prevent retraction without the key.
Shape the key from a thin cardboard strip. Cut notches so that inserting and sliding the key lifts the tab upward, disengaging it from the housing lip.
- Insert key
- Lift tab
- Slide bolt back to unlock
- Remove key and push bolt forward to lock
Precision matters. If the profile is off, the lock will not release cleanly.
Troubleshoot Sticking, Wobble, and Key Failures
Small alignment errors often cause failure. Use these fixes to restore smooth operation.
- Bolt will not slide: Clear glue overflow from the channel and realign side walls.
- Key does not lift tab: Recut deeper notches or adjust tab height for exact contact.
- Bolt wobbles: Wrap electrical tape around the skewer at the pivot to tighten fit.
- Tab misses the catch: Reinforce the housing lip with extra cardboard or reposition the tab.
Keep the model dry. Seal with clear tape or mod podge to extend lifespan in humid rooms.
Create a Fork Wedge Door Lock for Emergency Security
When a standard lock fails or is missing, a modified metal fork becomes a powerful temporary barrier. This design resists kicking and prying by converting door pressure into friction against the frame.
Select a Stainless Steel Fork and Gather Tools
Choose a sturdy stainless steel fork. Plastic or aluminum versions may bend or break under load.
You will need:
– Pliers for bending tines
– Bolt cutters for slicing the handle
– Hammer for flattening bends
– Marker for depth measurement
Work on a stable surface and handle cut metal carefully to avoid injury.
Measure the Door Gap and Bend the Outer Tines
Insert the unmodified fork into the gap between door and frame. Push until the tines press firmly against the back of the frame, usually a wooden stile. Mark the fork where it meets the frame edge.
At that mark, use pliers to bend both outer tines upward at 45 to 60 degrees. Keep bends symmetrical so pressure distributes evenly. Tap with a hammer to flatten the tips for uniform contact.
Next, cut the handle near the neck to separate the tine section from the straight handle. You now have two parts: a wedge and a stopper.
Deploy the Two-Piece Wedge and Stopper System
Install the lock in four quick steps to secure the door against forced entry.
- Slide the wedge (bent tines) into the gap first, pressing it flush against the inside of the frame.
- Close the door so the latch forces the bent tines into the wooden stile.
- Insert the stopper (straight handle) behind the wedge.
- Push hard until both pieces are fully wedged and immovable.
Force on the door only tightens the grip. This compound wedge is hard to dislodge from the outside.
Remove Without Damage and Prepare for Reuse
To unlock, pull both pieces out together. The system releases cleanly with no damage to the door or frame.
File sharp edges after cutting to prevent cuts during installation. Wrap the stopper handle in tape for better grip. Store the parts disassembled in a small pouch for travel.
This lock is reusable, compact, and ideal for dorms, rentals, or rooms with weak hardware.
Compare Cardboard and Fork Lock Performance by Use Case
Each design serves a different purpose. Match your goal to the right mechanism before you build.
Choose Based on Security Needs and Environment
| Feature | Cardboard Sliding Lock | Fork Wedge Lock |
|---|---|---|
| Best For | STEM projects and models | Emergency door security |
| Security Level | Low, demonstration only | High, resists force |
| Installation | Permanent mount on model | Temporary, no tools |
| Key Required | Yes, custom notched strip | No, manual removal |
| Durability | Moisture sensitive | Metal, long lasting |
Optimize for your setting. In humid areas, avoid cardboard or seal it well. For narrow gaps, choose a thinner fork or file the tines. Practice deployment speed so you can install under stress.
Prevent Failure and Extend Lifespan of DIY Locks
Simple locks still need care. Regular maintenance keeps both systems reliable when you need them most.
Maintain Smooth Motion in the Cardboard Mechanism
Repeated use wears pivot holes and sliding surfaces. Address wear early to avoid sudden failure.
- Reinforce loose joints with tape or glue patches
- Sand rough edges on the bolt to reduce friction
- Reshape the key if the tab no longer lifts cleanly
- Store flat and dry to prevent warping
For classrooms, laminate parts or 3D print replacements for extra durability.
Care for the Metal Fork Lock After Each Use
Stainless steel lasts, but smart habits ensure consistent performance.
- Inspect bends and re-flatten any warping with a hammer
- Wipe clean after use, especially in damp environments
- Avoid frequent rebending to prevent metal fatigue
- Carry in a pouch to protect edges and prevent scratches
If the stopper slips, try a longer handle piece or add rubber tape for grip.
Frequently Asked Questions About Making DIY Locks
Can I make a working lock from cardboard at home?
Yes. Use rigid cardboard, precise cuts, and a skewer pivot to build a sliding bolt that locks with a notched key. It works best for models and learning, not high security.
What materials do I need to make a fork door lock?
You need a stainless steel fork, pliers, bolt cutters, a hammer, and a marker. These tools let you bend tines, cut the handle, and create a two-piece wedge system.
How secure is a fork wedge lock compared to a standard deadbolt?
It provides strong temporary resistance by wedging force into the frame, but it is not a replacement for a rated deadbolt. Use it as an emergency backup or privacy enhancer.
Will the cardboard lock work in humid rooms?
Cardboard weakens with moisture. Seal it with clear tape or mod podge, or switch to plastic or wood for humid environments to maintain rigidity and function.
Can I reuse the fork lock after removing it?
Yes. The two pieces separate cleanly and can be reinstalled immediately. File sharp edges and store them safely to preserve performance over time.
Key Takeaways for How to Make a Lock That Works
You now know how to make a lock using two practical methods. The cardboard sliding bolt teaches core mechanics with precise dimensions and a custom key. The fork wedge delivers real resistance by converting door pressure into a tight, reusable barrier.
Pick the design that fits your goal. Build the cardboard version to learn engineering principles, and keep the fork lock ready for travel or emergency privacy. With a ruler, pliers, and careful assembly, you can create functional security from everyday materials.



