
A sticking Yale lock or a snib that will not stay in place turns a simple door closure into a frustrating daily battle. You push the latch, and instead of sliding smoothly, it drags or slams shut with a loud bang. These are common signs of wear in Yale Night Latches, but most issues can be repaired at home without calling a locksmith.
The root causes are typically mechanical misalignment, dried-out grease, or a bent snib arm. With the right tools and a methodical approach, you can restore smooth operation in under an hour. This guide covers two primary repair protocols to help you fix a stiff latch and repair a malfunctioning snib using basic tools.
Secure Your Door Before Repairing a Yale Lock
Before removing any screws, you must ensure your home remains secure during the repair process. Removing a Night Latch leaves the door unprotected by that specific mechanism.
Engage Secondary Locking Mechanisms
Never remove a Yale Night Latch without a secondary lock in place. When the latch is detached, the door loses its primary security layer. Always engage a deadlock or secondary locking mechanism before starting work. If your door lacks a deadlock, do not proceed until one is installed.
Gather Required Tools for Yale Lock Repair
Use the correct tools to prevent damage and ensure precision during disassembly. You will need a Phillips #2 screwdriver for side and backplate screws. A flathead screwdriver helps with cam rotation and component manipulation.
You also need needle-nose pliers or mold grips for snib realignment. Standard pliers work for spring and latch extraction. Bring a small hammer for gentle tapping if needed. Have wet wipes, dry tissues, and lithium grease ready for cleaning and lubrication.
Prevent Loss of Small Components
Screws and internal components are small and often model-specific. Place them on a clean cloth or in a small container as you remove them. Label or group screws if you are working on multiple plates to avoid confusion during reassembly.
Fix a Stiff or Noisy Yale Latch Mechanism
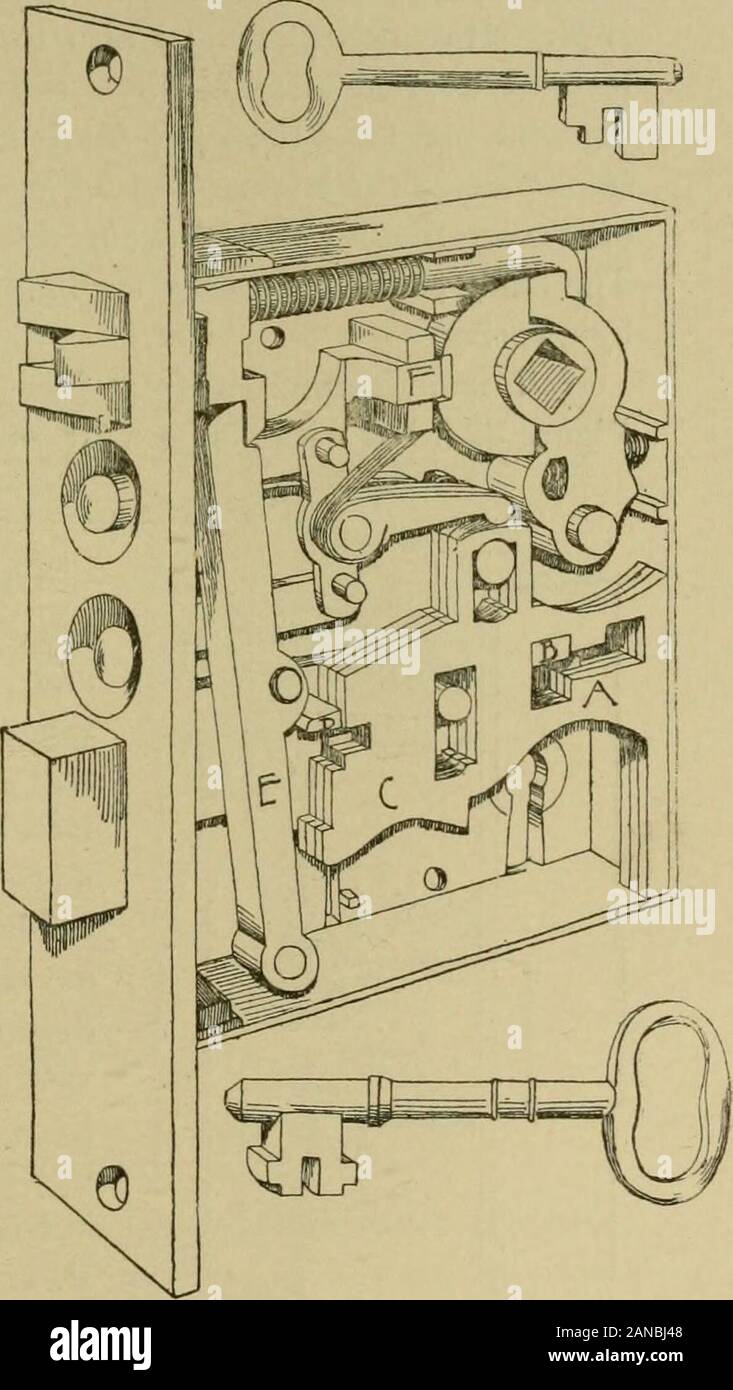
A Yale lock that is hard to retract or slams shut loudly usually suffers from hardened factory grease inside the mechanism. This section details how to restore smooth movement.
Identify Dried Grease as the Cause
The brass latch drags due to dried, gummy lubricant in the internal tracks. Over time, the original grease thickens and increases friction significantly. This causes resistance when pushing the latch in and difficulty turning the key. This is a maintenance issue rather than a sign of broken parts.
Remove the Latch Mechanism From Door
- Locate the two Phillips screws on the edge of the door securing the latch body.
- Remove both screws carefully.
- Gently pull the latch mechanism out of the door edge. The metal back plate may stay attached initially.
Open the Housing to Access Internals
- Turn the mechanism over to access the rear side.
- Remove the two screws holding the back plate in place.
- Wiggle the plate forward to clear the retaining notches and slide it off completely.
Clean Internal Components Thoroughly
Use a flathead screwdriver to rotate the cam and expose the internal assembly. Extract the spring using pliers to lift it from its groove. Remove the latch assembly by pulling it out carefully.
Wipe away old grease from all internal grooves, the cam area, and the spring post with a wet wipe. Dry the spring with a tissue. Do not grease the spring itself. Never apply grease to the spring groove as it can transfer to hands during use.
Apply Lithium Grease Correctly
Use white lithium grease for long-lasting and dust-resistant lubrication. Lubricate only the latch moving tracks on both sides. Apply grease to the cam mechanism and deadlock slider contact points. Coat the spring post with a thin layer.
Apply a thin and even layer only. Excess grease attracts dirt and will harden again over time. This step is critical for a successful Yale lock repair.
Reassemble and Test Operation
- Slide the latch assembly back into the housing carefully.
- Manually move it back and forth to ensure smooth seating.
- Reinstall the spring by holding the short end in place.
- Use pliers to wrap the long end into the groove and press down firmly.
- Align the back plate arrow with the housing indentation.
- Slide it in until it clicks under the lugs and reinstall the two screws.
- Reinsert the latch into the door and align the key barrel bar.
- Secure with the two edge screws.
Verify Smooth Latch Movement
Test the repair by pushing the latch in and out. Movement should be smooth and resistance-free. Slide the deadlock up and down to ensure it engages without sticking. Close the door gently to confirm no banging occurs. Wipe off any excess grease from the brass face.
Repair a Malfunctioning Snib Lever
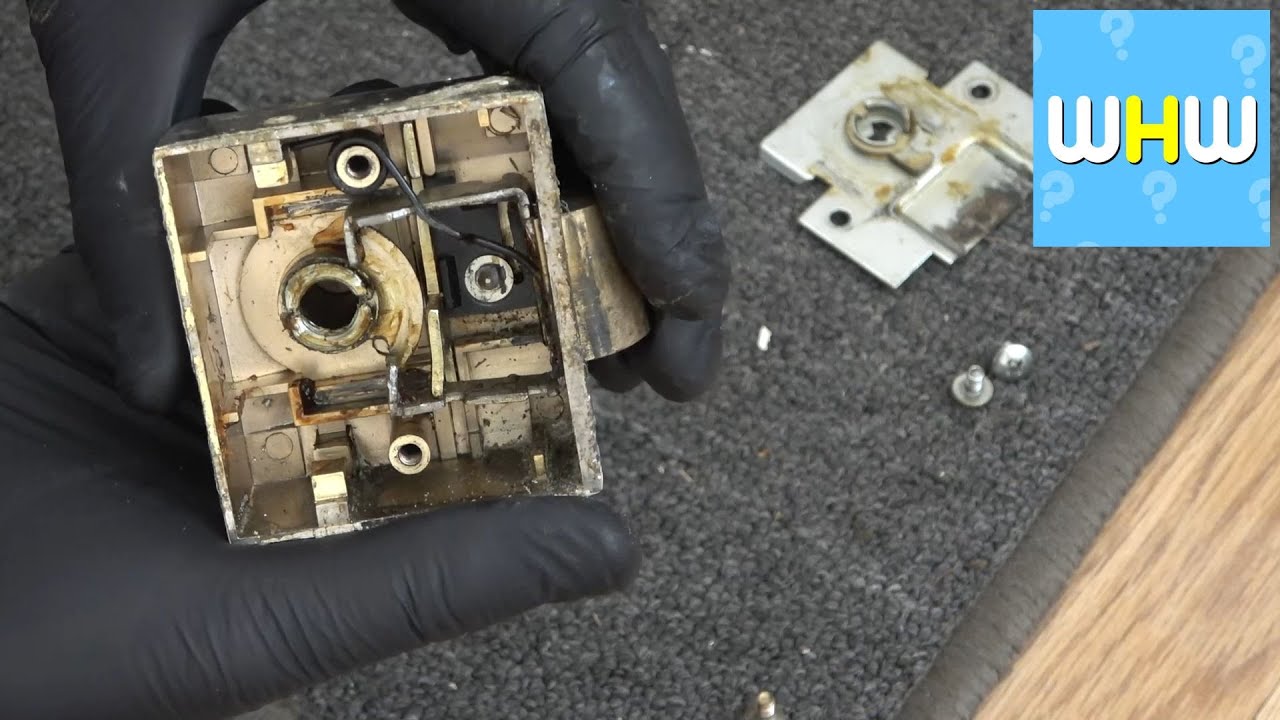
When the interior snib drops but will not stay down, the auto-lock feature fails. This issue is usually due to a bent snib arm requiring realignment.
Recognize Snib Failure Symptoms
Symptoms include the latch dropping briefly but springing back up when released. You may need to hold the snib down manually to keep the door locked. The key works fine, but the interior lever is unreliable. Look for a visible bend or corrosion on the snib arm.
Diagnose the Bent Snib Arm
- Remove the two screws on the interior faceplate.
- Lift the plate off carefully to expose the mechanism.
- Locate the snib lever and its notched arm.
- Observe alignment to see if the arm is bent forward.
Straighten the Snib Arm Carefully
Use needle-nose pliers or mold grips for a secure grip and leverage. Grip the snib arm firmly. Apply gentle and backward pressure to realign it.
If needed, tap lightly with a small hammer to encourage the bend. Work incrementally because hardened steel can fracture under excessive force. This step requires patience during your Yale lock repair.
Check Alignment After Adjustment
After adjustment, the snib should sit flush and level. Push the latch down to ensure it locks into the notches and stays down. Raise the snib to verify it remains in the up position. Do not force movement if resistance is high.
Reattach Plate and Test Auto-Lock
Apply a small amount of lithium grease to dry contact points. Replace the interior plate and secure with screws. Perform full functional tests to confirm success.
Push the snib down to ensure it stays without manual support. Raise the snib to verify it stays up. Close the door to check that the latch engages and holds. Turn the key from outside to match the snib setting.
Prevent Future Yale Lock Issues With Maintenance
Regular care prevents most Yale lock problems before they start affecting your security. Follow a consistent schedule to maintain optimal performance.
Follow a 3 to 5 Year Schedule
Clean and re-lubricate every three years in high-use or humid environments. In standard indoor conditions, perform this maintenance every five years. This prevents grease hardening and reduces wear significantly.
Use the Right Lubricant Only
Stick to lithium-based grease for all internal components. It resists temperature changes and does not attract dust. It is safe for both metal and plastic parts inside the lock.
Avoid Common Maintenance Mistakes
Avoid over-greasing as a little goes a long way. Excess causes buildup and attracts debris. Do not use wrong tools like slipping pliers that damage the snib. Never work without a deadlock engaged to avoid lockouts.
Troubleshoot Persistent Yale Lock Problems

If repairs do not resolve the issue, consider these contingencies for further action. Some problems require part replacement or professional support.
Handle a Broken Snib During Repair
If the hardened steel arm fractures, replace the interior mechanism with a compatible Yale kit. Match your model number found on the faceplate or manual. Installation is typically screw-and-click with no wiring needed for mechanical units.
Address Returning Stiffness After Cleaning
Possible causes include physical damage to the cam or latch track. Misaligned housing after reassembly can also cause issues. Incorrect lubricant used previously may be the culprit. Inspect for visible wear and replace the latch body if tracks are gouged.
Distinguish Smart Lock Issues
For Yale smart locks, do not disassemble the electronic housing. Snib and latch issues may be software-related. Ensure the Yale Home app is updated and check Wi-Fi or Z-Wave connection. Restart the lock via the app and check battery levels.
Contact Yale Support When Needed
For issues beyond basic maintenance, use official channels for assistance. Professional guidance ensures you do not void warranties or cause further damage.
Access Official Support Resources
Visit the support website for manuals, videos, and troubleshooting guides. Call the 24/7 phone line for immediate assistance. Email support is available for non-urgent inquiries. Live chat operates during business hours on the support portal.
Prepare Before Contacting Support
Update the Yale Home app to the latest version before calling. Ensure the device has power and internet connectivity. Note your lock model and firmware version to speed up diagnosis. This preparation avoids unnecessary service calls.
Frequently Asked Questions About Yale Lock Repair
Can I use WD-40 to lubricate my Yale lock?
No, you should never use WD-40 on Yale locks. It acts as a solvent that attracts dust and degrades plastic components over time. Use white lithium grease instead for long-lasting and safe lubrication.
How often should I perform maintenance on my Yale lock?
You should clean and re-lubricate your lock every 3 to 5 years. High-use or humid environments require service every 3 years. Standard indoor conditions allow for a 5-year interval between maintenance sessions.
What if the snib arm breaks while I am straightening it?
If the snib arm fractures, you must replace the entire interior mechanism. Purchase a compatible Yale replacement kit matching your model number. Installation is straightforward and typically requires only basic screwdrivers.
Why does my Yale lock make a loud banging noise?
A loud bang usually indicates dried and gummy internal grease causing friction. The latch drags and then snaps shut abruptly. Cleaning and re-lubricating the internal tracks will resolve this noise issue.
Do these repair steps apply to Yale smart locks?
Mechanical repairs apply only if the issue is clearly physical. For smart locks, check the Yale Home app and battery levels first. Do not disassemble the electronic housing unless directed by official support.
Key Takeaways for Successful Yale Lock Repair
Most Yale lock issues stem from dried grease or minor misalignment rather than total failure. You can fix a stiff latch or malfunctioning snib with basic tools and lithium grease. Regular maintenance every few years extends the life of your lock significantly.
Start by securing your door with a secondary lock before beginning work. Follow the disassembly steps carefully and apply lubricant only to specific moving parts. If you encounter broken components or smart lock errors, consult official Yale support resources.



