
A window that refuses to lock creates an immediate security risk while allowing cold drafts to raise your energy bills. Most homeowners panic and call a pro, but learning how to fix a window lock is often a simple 20-minute job you can do yourself.
This guide walks you through diagnosing misalignment, reconnecting pivot blocks, and replacing worn latches with clear steps. You will discover exactly which tools you need and how to restore smooth operation to double-hung or slider windows without guessing.
Diagnose Why Your Window Lock Fails
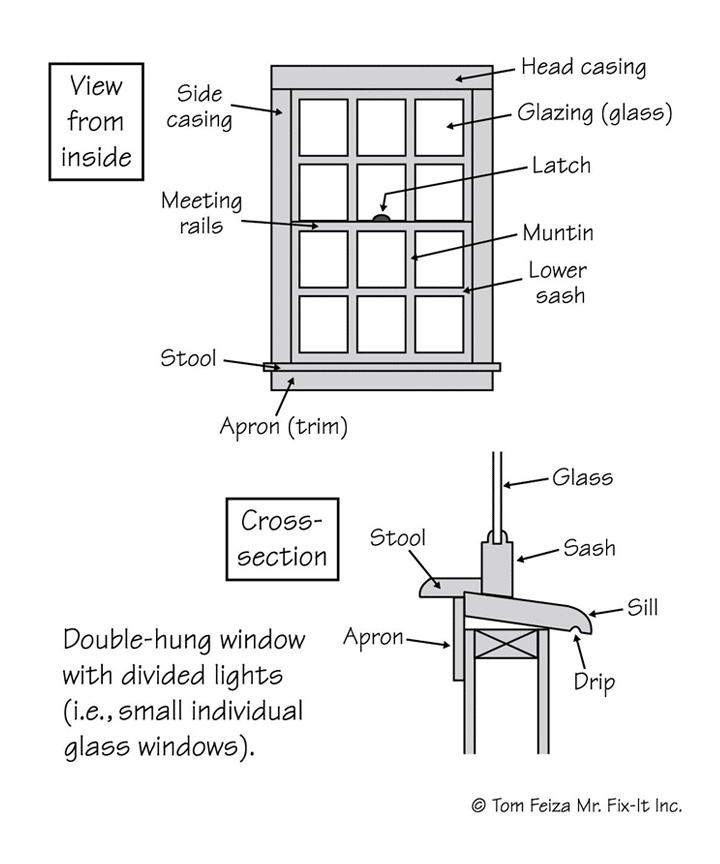
Many people assume a broken mechanism when the real issue is simple sash misalignment. Thermal expansion often shifts the upper or lower sash just enough to stop the cam lock from engaging properly.
Check for Sash Misalignment First
Perform this quick test before grabbing any tools to see if your window is simply out of position.
- Push the upper sash up firmly with both hands.
- Press the lower sash down with equal force.
- Attempt to engage the lock immediately.
If the lock clicks into place now, your issue was alignment rather than a broken part. This simple maneuver resolves many false alarms where the weather stripping compression prevented closure.
Identify a Disconnected Pivot Block
If alignment tricks fail, the pivot block connecting your sash to the balance system may have popped out. This small component supports the sash weight and allows the tilt function to work smoothly.
Signs of a disconnected pivot block include:
* The sash feels loose or wobbly when you move it.
* The window binds heavily when raising or lowering.
* You hear a snapping sound when tilting the sash inward.
* The lock refuses to engage even when the window looks closed.
Reconnect a Disconnected Pivot Block
This specific repair applies to Harvey vinyl windows and similar tilt models where the terminal housing has detached. Restoring this connection realigns the entire sash and often solves the locking problem instantly.
Gather Your Required Tools
You only need one common tool to complete this repair safely and effectively.
- Flathead screwdriver
Execute the Reconnection Steps
Follow these precise movements to reset the spring tension and reseat the pivot bar.
- Raise the bottom sash 6 to 8 inches to expose the pivot block inside the track.
- Insert your flathead screwdriver into the small U-shaped channel on the pivot block.
- Rotate the screwdriver 90 degrees to release spring tension while holding the block firmly with your other hand.
- Turn the screwdriver another 90 degrees so the U-channel faces straight up toward the ceiling.
- Lower the sash slightly until you feel or hear the pivot bar drop securely into the block.
- Tilt the sash inward and gently raise it to confirm the connection holds firm.
Pro Tip: Always keep a firm grip on the pivot block during rotation because the internal spring can snap upward quickly if released unexpectedly.
Replace a Worn Window Latch

Older double-hung windows often suffer from stripped or broken latches that require full replacement. This process involves removing the old unit and installing a new one that matches your specific window gap.
Collect Necessary Tools and Materials
Ensure you have the right equipment ready before starting to avoid interruptions during the repair.
- Phillips screwdriver
- Flathead screwdriver for tight spaces near glass
- Drill with a 3/32 inch bit for metal latches
- Soapy water for cleaning debris
- Replacement latch kit
Measure the Old Latch Accurately
The most critical step is measuring the back thickness of your current latch before buying a replacement. A difference of even 1/16 inch can prevent the new latch from closing properly.
Standard thickness specifications:
* Typical original thickness: 3/8 inch
* Common replacement thickness: 9/32 inch (slightly thinner)
Measure the gap between your sash and frame carefully since front width and depth usually remain consistent across models.
Remove the Old Latch Completely
Start by unscrewing the four mounting screws holding the current latch in place. Use a Phillips head for front screws and a flathead for rear screws located close to the glass. Clean the area thoroughly with soapy water to remove old adhesive and dirt.
Test Fit the New Latch
Slide the back piece of the new latch into the track to ensure it clears the sash when closed. If the back piece catches on the sash, the thickness is incorrect and you must return it for a thinner model.
Install the Back Piece Securely
Insert the back plate into the frame and secure it using the provided tapered-head screws. Tighten these just enough to hold the piece in position without fully securing it yet.
Align the Front Piece Properly
Unlock the latch and align the front piece with the locking tab using the small guide protrusions. Check if the screw holes match your existing holes since new latches are often 2¼ inches wide compared to the old 2½ inch standard.
Pre-Drill New Holes If Needed
If the holes do not align, you must pre-drill new ones to ensure a secure fit.
- Partially tighten the left screw to stabilize the piece.
- Lock the latch to hold the alignment steady.
- Use the locked position as a guide to drill a new hole with a 3/32 inch bit.
- Insert the right screw into the new hole and remove the latch to thread it fully.
Complete the Final Installation
Reinstall both front screws and adjust the alignment until the lock slides smoothly without resistance. Once aligned perfectly, tighten the back screws securely and test the lock multiple times.
Replace a Slider Window Lock

Single or double-hung slider windows use a different locking mechanism that is straightforward to replace with basic tools.
Steps for Slider Lock Replacement
- Unlock the current lock to allow free movement of the sash.
- Remove the two mounting screws using a Robertson or Phillips screwdriver.
- Detach the old lock by pulling it straight off the sash.
- Position the new lock so it aligns perfectly with the keeper plate on the fixed frame.
- Secure the lock with screws into existing holes without overtightening the vinyl.
- Test the operation by sliding the sash and engaging the lock several times.
Replace a Full Lock System on Triple Tin Windows
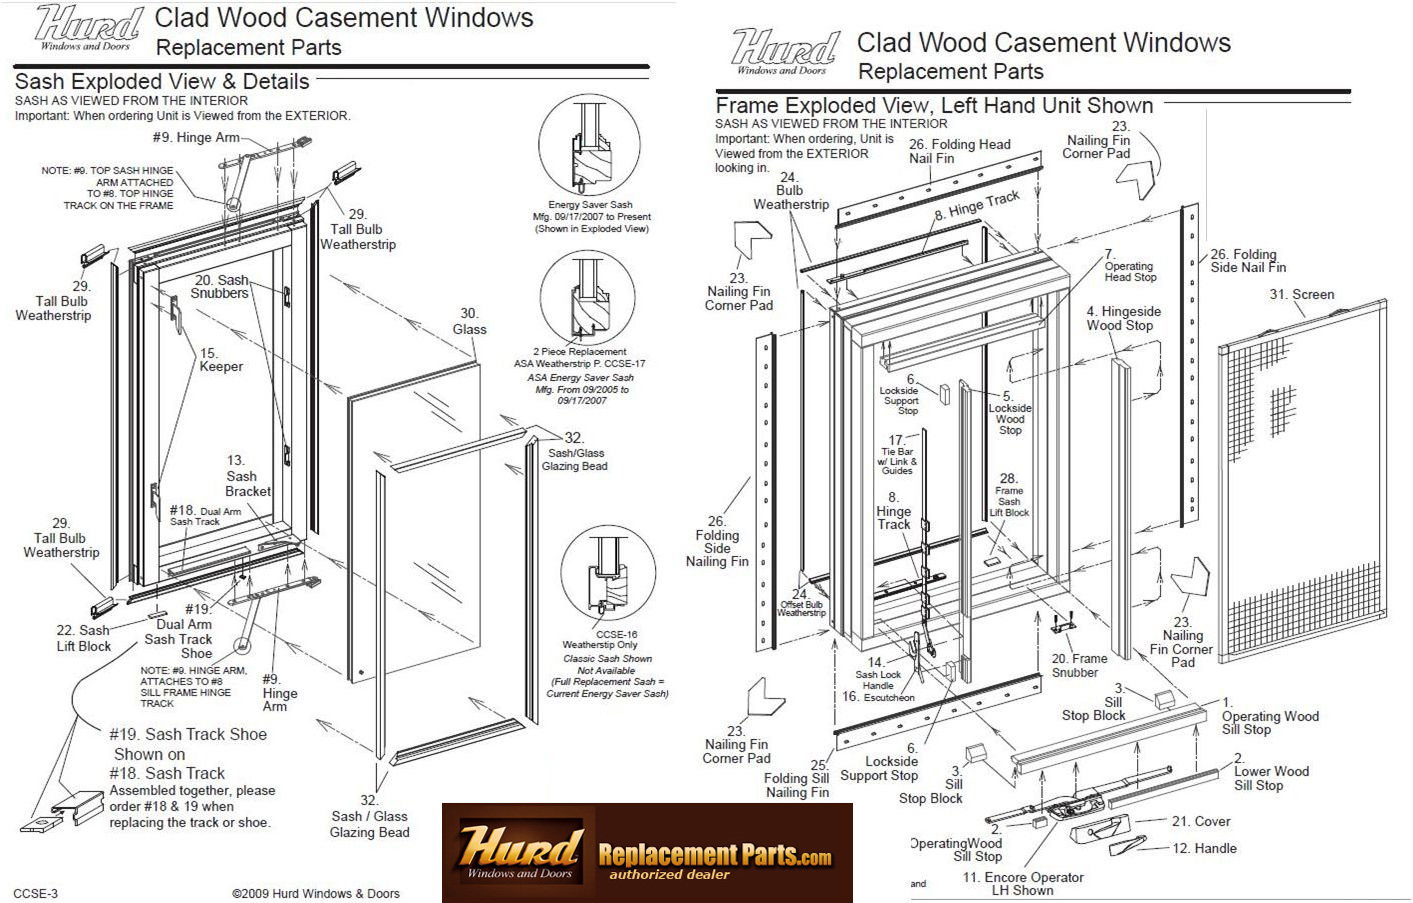
Triple Tin models utilize a dual-chamber lock system with separate keeper plates that require a specific replacement approach.
Remove the Old Lock Assembly
Raise the window slightly and tilt it inward to access the lock mechanism. Unscrew the mounting screws and remove the old lock completely from the frame.
Replace the Keeper Plates
Access the back of the window frame to remove the two screws holding each keeper plate. Install the new keepers in the exact same position to ensure perfect alignment with your new lock.
Install and Test the New Lock
Position the new lock over the frame, align it with the new keepers, and secure it with screws. Close the window fully and engage the lock several times to confirm it seals tightly without rattling.
Prevent Future Lock Problems
Regular maintenance extends the life of your window hardware and prevents costly emergency repairs down the road.
Lock Your Window Regularly
Lock your windows occasionally even during warm summer months to keep the sash aligned. This habit maintains weather stripping compression and prevents the settling issues that lead to misalignment.
Perform Seasonal Checks
Inspect your windows every three to six months to catch issues early. Test lock operation, clean tracks and latches of debris, and look for signs of wear or binding.
Watch for Warning Signs
Replace or repair components immediately if you notice increasing resistance when locking. Other red flags include sash binding against the frame, visible wear on the latch, or drafts appearing around a locked window.
Troubleshoot Common Installation Issues
Even careful DIYers can encounter hiccups during repair, but most have simple solutions.
Lock Won’t Engage After Replacement
This usually means the lock or keepers are misaligned. Loosen the screws slightly, realign the components, and retighten them while testing the engagement.
Back Piece Catches on Sash
An incorrect thickness measurement is the likely culprit here. Even a 1/16 inch difference can prevent function, so replace the unit with a 9/32 inch model if your current one is too thick.
Holes Don’t Align with New Latch
New latches are often narrower than older models, requiring new holes. Use the locked position as a guide to pre-drill accurate holes with a 3/32 inch bit.
Pivot Block Won’t Reconnect
Ensure the U-channel is facing straight up and that you released the spring tension correctly. Re-rotate the screwdriver to verify proper orientation before lowering the sash.
Benefits of a Properly Fixed Window Lock
Fixing a window lock provides benefits far beyond basic security for your home.
- Eliminates drafts that cause uncomfortable cold spots near windows.
- Restores energy efficiency by ensuring weather stripping compresses fully.
- Prevents window drift and constant rattling during windy conditions.
- Extends window life by reducing stress on the balance system.
- Saves money by avoiding professional repair fees or full window replacement.
Key Takeaways for Fixing Your Window Lock
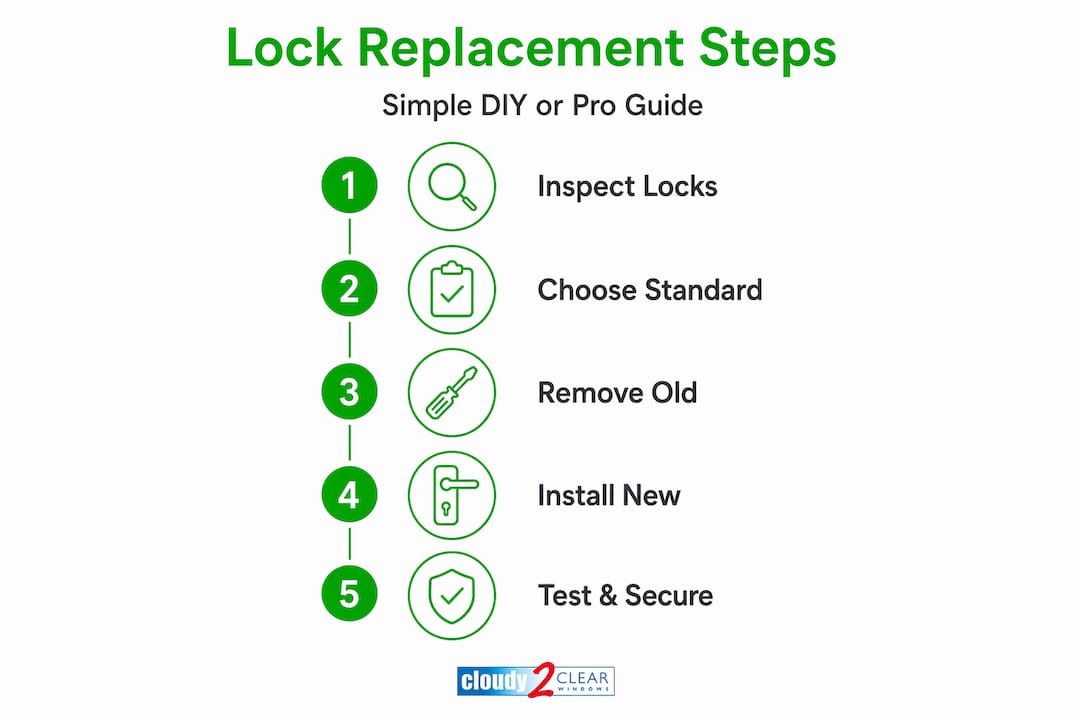
Learning how to fix a window lock saves you time and money while restoring security to your home. Most issues stem from simple misalignment or a disconnected pivot block that you can fix in under 30 minutes with basic tools.
Always measure the back thickness of your old latch before buying a replacement to ensure a perfect fit. Start with the simplest diagnostic steps like pushing the sashes into alignment before assuming you need new parts.
Take action today by inspecting your problematic window and applying these targeted fixes. Your home will feel more secure and energy-efficient once that lock engages smoothly again.
Frequently Asked Questions About Window Lock Repair
How much does it cost to fix a window lock?
Most repairs cost under $20 if you do it yourself since replacement latches are inexpensive. You typically only need basic tools you may already own, avoiding professional service fees entirely.
Why won’t my window lock close even when shut?
The sash is likely misaligned due to thermal expansion or a disconnected pivot block. Try pushing the upper sash up and lower sash down firmly before attempting to lock it again.
Can I replace a window lock without removing the whole window?
Yes, you can replace most locks by simply tilting the sash inward or accessing the mounting screws directly. Full window removal is rarely necessary for standard latch or pivot block repairs.
What tools do I need to fix a broken window lock?
You typically need a Phillips screwdriver, a flathead screwdriver, and possibly a drill with a 3/32 inch bit. Some slider windows may require a Robertson screwdriver for removal.
How often should I replace my window locks?
Window locks can last for years with proper maintenance, but replace them if they show visible wear or fail to engage securely. Regular cleaning and occasional locking during off-seasons extend their lifespan significantly.
Is it hard to fix a window lock myself?
No, fixing a window lock is considered one of the easiest home repairs for beginners. Most people complete the entire process in under 30 minutes by following clear step-by-step instructions.



