
You are locked out with no key in sight and every second counts. Knowing how to drill through a lock provides a fast solution when standard entry methods fail.
This guide details the exact tools and steps to bypass pin tumblers safely. You will learn to locate the shear line and turn the cylinder without damaging your door frame.
Select the Correct Drill Bits and Equipment

Using the wrong tools can ruin the lock cylinder or cause the bit to snap inside the mechanism. You need specific materials designed to cut through hardened steel pins efficiently.
Choose Titanium or Cobalt Drill Bits
Standard high-speed steel bits often dull instantly against lock pins. Select a 1/16-inch titanium or cobalt bit for your initial pilot hole. Follow this with a 1/4-inch cobalt bit to clear the pin stack completely.
Gather Essential Safety Gear
Protect your eyes and hands before starting the job. Metal shavings fly at high speeds and can cause serious injury if they hit your face.
* Safety goggles to shield eyes from debris
* Heavy-duty work gloves for grip and protection
* Flashlight to inspect the keyway depth
* Center punch to mark the drilling spot
* Flathead screwdriver for turning the core
Pro Tip: Keep a small container or piece of tape nearby to catch falling metal shavings so they do not jam the door hinge.
Locate the Pin Stack on Your Lock Cylinder
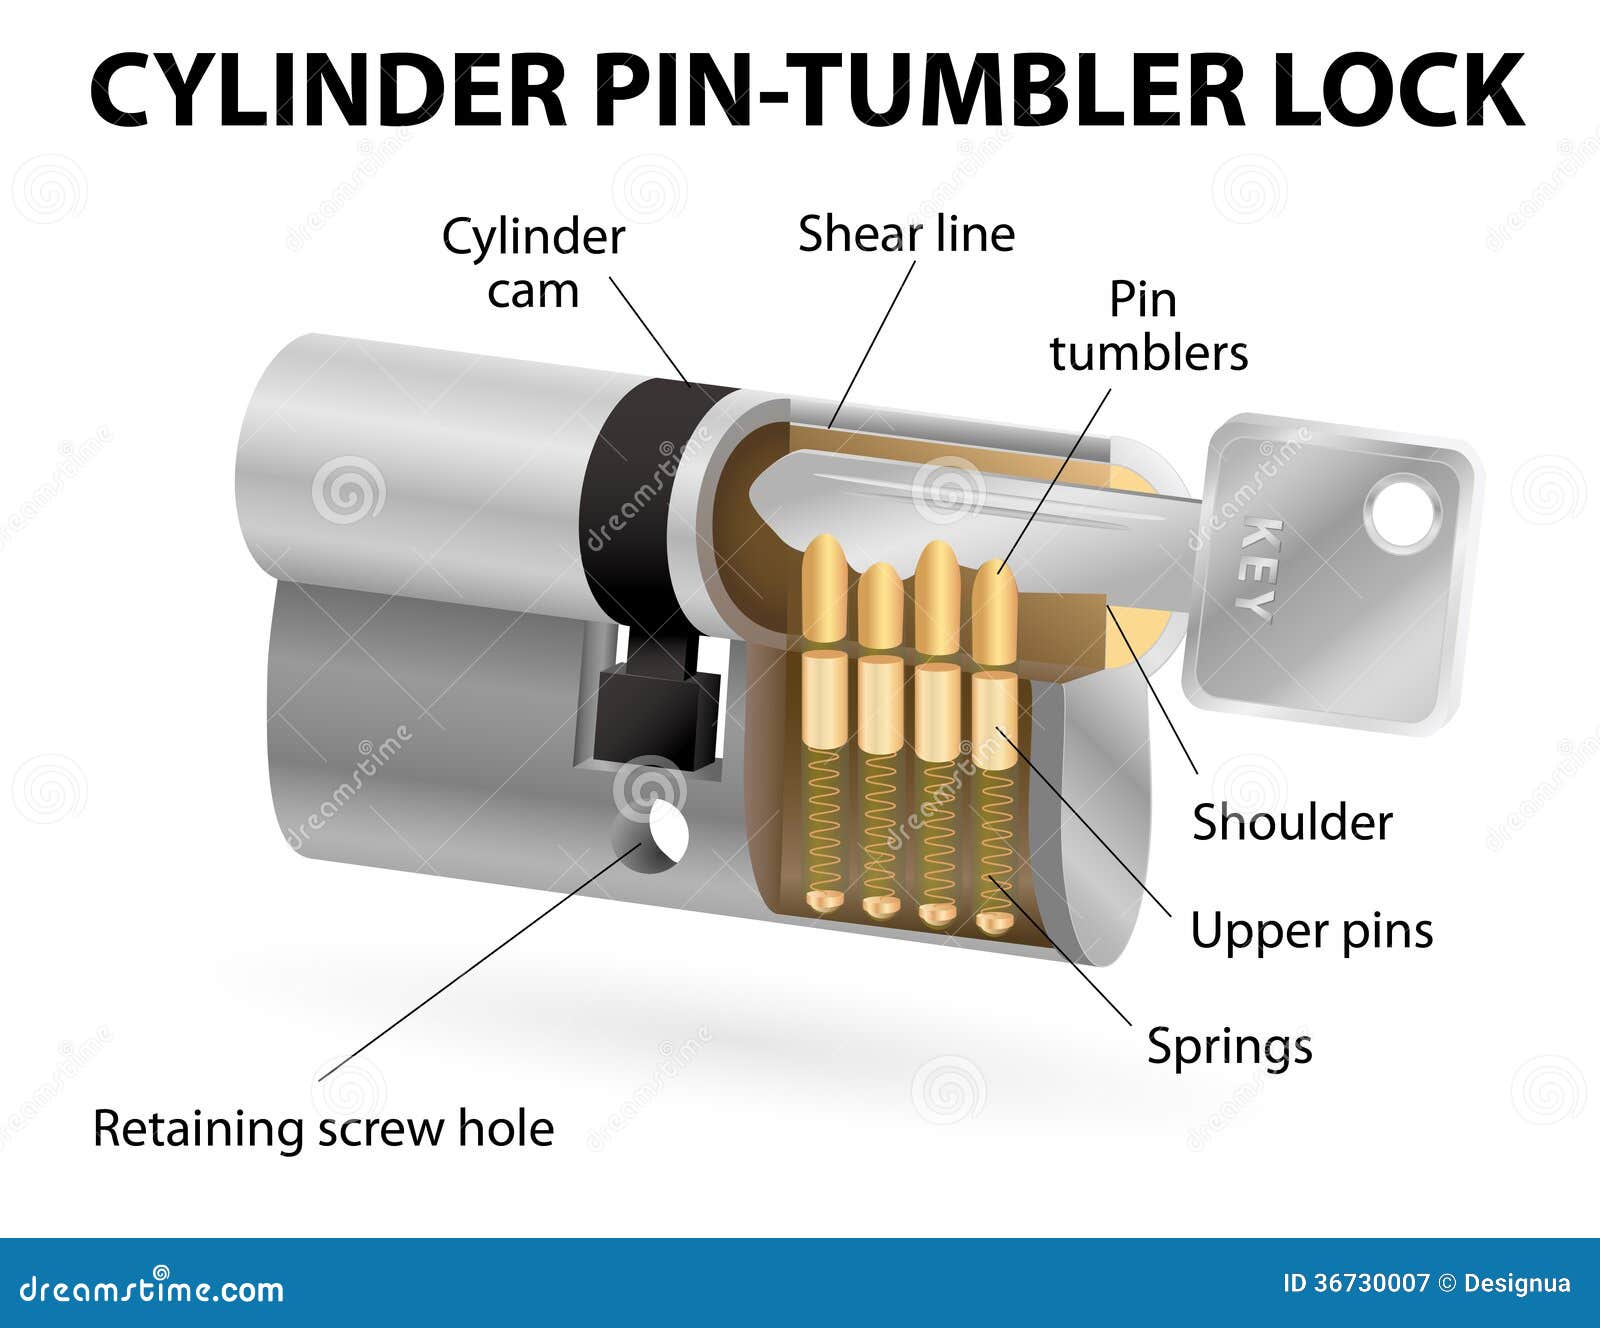
Success depends entirely on hitting the internal pins. Drilling the wrong spot creates a useless hole while leaving the locking mechanism intact.
Identify the Pin Side of the Cylinder
Examine the keyhole closely. The pin side is the larger circular area usually found just above or around the keyway slot. This is where the spring-loaded pins sit inside the cylinder housing.
Mark the Center Point Precisely
Use a center punch or a sturdy nail to create a small indentation in the metal. Place this mark in the center of the pin chamber, roughly 1/8 inch above the top of the keyway slot.
* This dent prevents the drill bit from sliding off the smooth metal surface.
* It ensures your pilot hole starts exactly where the pins are located.
Visual Cue: On most standard deadbolts, the target zone sits vertically centered within the round face of the lock.
Drill a Precise Pilot Hole First
Starting with a small bit creates a guide path for the larger drill bit. Skipping this step often leads to misalignment and broken tools.
Set Your Drill to Low Speed
Insert the 1/16-inch bit into your cordless drill. Set the tool to a low RPM setting, ideally under 500 RPM. High speed generates excessive heat and reduces your control over the bit.
Penetrate the First Layer of Pins
Align the bit perpendicular to the lock face and press gently into your marked spot. Apply steady, light pressure until the bit bites into the metal.
1. Drill slowly to a depth of about 1/4 inch.
2. Feel for the resistance of the first set of pins giving way.
3. Stop immediately if the bit binds or starts to squeal.
Warning: Forcing the drill can break the small bit inside the lock, making the situation much harder to fix.
Enlarge the Hole to Destroy the Pin Stack

Now you must remove the remaining pins to free the inner cylinder. This step requires a larger bit and careful alignment.
Switch to a 1/4-Inch Cobalt Bit
Replace the small pilot bit with the 1/4-inch cobalt bit. Insert it carefully into the pilot hole you just created. Ensure the drill remains perfectly straight relative to the door surface.
Drill Through the Entire Pin Chamber
Increase pressure slightly while maintaining a slow, steady rotation. Drill deeper until you pass through the entire pin stack, usually reaching a depth of 3/4 to 1 inch.
* Watch for coarse, chunky metal shavings indicating success.
* Feel for a sudden drop in resistance as the pins collapse.
* Observe broken pin fragments appearing in the drilled hole.
Expert Note: The interior will look destroyed. This is normal and necessary to bypass the security mechanism.
Turn the Cylinder to Open the Door

With the pins removed, the locking mechanism is disabled. You now need to manually rotate the core to retract the bolt.
Insert a Flathead Screwdriver
Select a narrow flathead screwdriver that fits snugly into the drilled hole or the original keyway. Push the tip deep into the cylinder core until it hits the back of the mechanism.
Rotate the Core Manually
Apply firm torque in a clockwise or counterclockwise direction. One direction will mimic the action of the correct key.
* The cylinder should turn freely once the pins are gone.
* The door bolt will retract, allowing you to open the door.
* If it sticks, clear out debris with a wire and try again.
Troubleshooting: If the screwdriver will not turn the core, you may have missed some pins. Re-drill slightly deeper or wider to ensure total pin removal.
Recognize When Drilling Will Fail
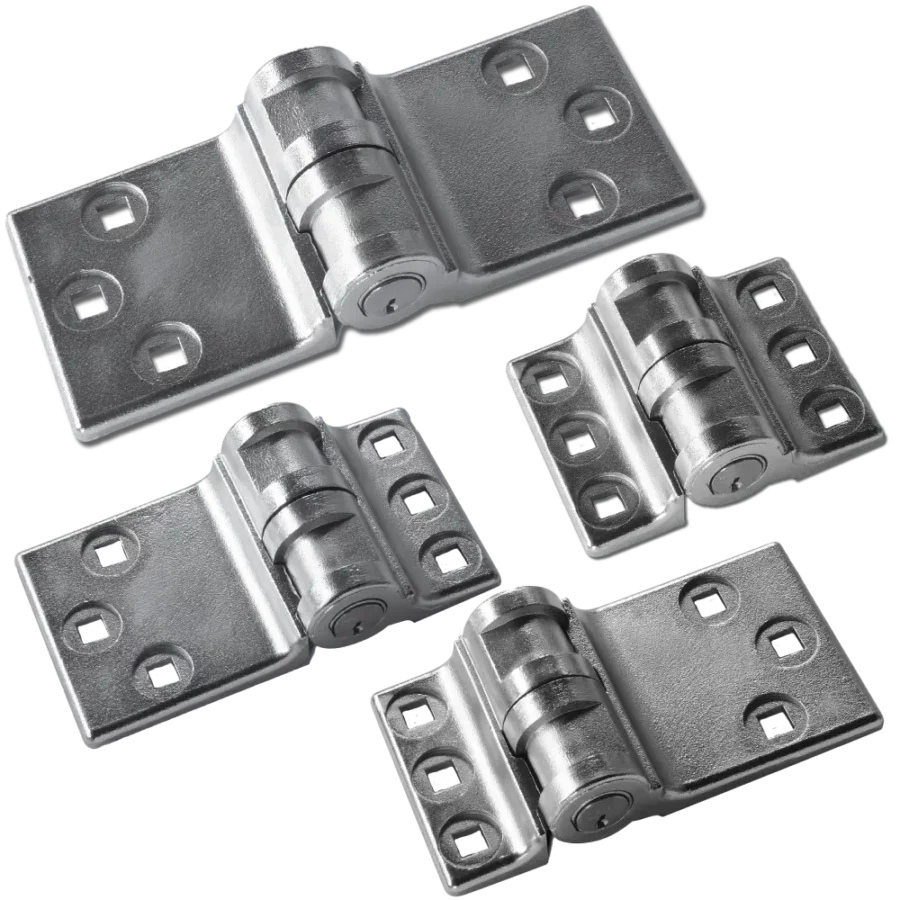
Not every lock can be defeated with a drill. Some models have specific features designed to stop this exact method.
Avoid High-Security Lock Brands
Locks from manufacturers like Medeco or Mul-T-Lock often include hardened steel inserts or rotating pins. These features deflect drill bits or prevent the pins from shearing correctly.
Watch for Anti-Drill Plates
Many commercial locks contain drill-resistant ball bearings or hardened plates behind the face. You might drill through the outer layer only to hit an impenetrable barrier.
* If your bit stops progressing despite sharpness, stop immediately.
* Continuing will only destroy your tools and waste time.
Alternative: If drilling fails, your best option is to call a professional locksmith who has specialized bypass tools.
Protect Your Door and Frame From Damage
The goal is entry, not destruction of the surrounding property. Take steps to minimize collateral damage during the process.
Use a Backing Plate If Possible
If the hardware allows, place a thin steel plate behind the lock cylinder before drilling. This catches the drill bit if it goes too deep and protects the door edge.
Control Flying Metal Debris
Loose shavings can scratch finishes or jam nearby moving parts.
* Wrap painter’s tape around the base of the doorknob.
* Hold a small vacuum nozzle or sticky tape near the drill point.
* Clean the area thoroughly before attempting to turn the cylinder.
Pro Tip: Covering the area with tape also helps hold loose fragments in place for easier cleanup afterward.
Understand Legal and Ethical Responsibilities
Drilling a lock is a destructive act that carries legal weight. You must ensure you have the right to perform this action.
Only Drill Locks You Own
Never attempt to drill a lock on a rental property, vehicle, or building without explicit permission. Doing so can lead to charges of trespassing or vandalism.
Document Emergency Situations
If you are a property manager or first responder, record why drilling was necessary. Take photos before and after the procedure to justify the damage.
* The lock is permanently destroyed once drilled.
* You must plan to replace or rekey the hardware immediately.
Reminder: This method should always be a last resort when no other entry options exist.
Try Non-Destructive Alternatives First
Drilling should be your final option. Several other methods might open the door without ruining the lock.
Attempt Basic Lock Picking
Using a tension wrench and a pick, you can often manipulate the pins manually. This requires practice but leaves the lock fully functional.
Use a Bump Key Technique
A bump key cut to the correct size can dislodge pins temporarily when struck lightly. This works on many standard residential pin tumbler locks.
Contact a Licensed Locksmith
Professionals can often open doors without damage using specialized tools. While there is a fee, it saves the cost of buying a whole new lock set.
Time-Saving Shortcut: Always check for a spare key hidden nearby before resorting to drilling.
Replace the Damaged Lock Immediately
Once you gain entry, your home security is compromised. The drilled lock offers zero protection and must be replaced.
Remove the Drilled Cylinder
Unscrew the faceplate or retaining screws holding the damaged cylinder. Pull the broken components out and dispose of the sharp metal fragments safely.
Install a New High-Security Lock
Choose a Grade 1 or Grade 2 ANSI-rated lock for better durability. Consider upgrading to a model with anti-drill features or a smart lock system.
* Lubricate the new mechanism with graphite powder annually.
* Avoid using WD-40 as it attracts dust and gums up internal parts.
Maintenance Tip: Regular lubrication extends the life of your new lock and prevents future sticking issues.
Frequently Asked Questions About Drilling Locks
What size drill bit do I need to drill out a lock?
You typically need a 1/16-inch bit for the pilot hole and a 1/4-inch cobalt bit to destroy the pins. Using cobalt or titanium bits is essential because they can cut through hardened steel without dulling quickly.
Is drilling a lock illegal?
Drilling a lock is illegal if you do not own the property or have explicit permission from the owner. Attempting this on a rental unit, vehicle, or someone else’s home can result in criminal charges for trespassing or destruction of property.
Will drilling a lock ruin it completely?
Yes, drilling destroys the internal pin mechanism and renders the lock unusable. Once you drill through the pins, the lock cylinder cannot be rekeyed or repaired, so you must replace the entire unit.
Can I drill a high-security lock like Medeco?
Most high-security locks feature hardened steel inserts and anti-drill plates that resist standard drilling attempts. These locks often deflect drill bits or trap them, making drilling ineffective and potentially damaging your tools.
How deep should I drill into the lock cylinder?
You generally need to drill about 3/4 to 1 inch deep to pass completely through the pin stack. The exact depth varies by lock model, but you stop when the pins collapse and the cylinder turns freely.
Key Takeaways for Drilling Through a Lock
Knowing how to drill through a lock is a critical emergency skill when all other entry methods fail. By selecting the right cobalt bits, locating the pin stack accurately, and following a careful drilling sequence, you can gain access without harming the door frame.
Remember that this process permanently destroys the lock, requiring immediate replacement to restore security. Always verify your legal right to drill and consider non-destructive alternatives like picking or calling a locksmith before proceeding.
Practice these steps on an old lock first to build confidence. Keep this guide accessible so you can act quickly and safely during an unexpected lockout situation.



