
A broken garage door lock leaves your home vulnerable to theft and intrusion. If your T-handle is stuck or the key won’t turn, you need to fix garage door lock issues immediately to restore safety.
This guide shows you how to replace a standard lock in under 15 minutes using basic tools. You will learn safe removal steps, precise installation techniques, and how to test your new security hardware.
Secure the Garage Door Before Repairs

Safety is your top priority before touching any hardware on the door. A falling garage door can cause severe injury or damage to your property.
Prop the Door Open Safely
Place a sturdy wooden block or door jack under the garage door to hold it firmly in place. Test the support by gently pushing down on the door to ensure there is no movement. Never rely on the garage door opener alone to hold the weight of the door.
Access the Interior Side
Begin your work on the inside of the garage door where the mounting screws are located. This interior side houses the lock plate and retaining nut needed for disassembly. Most T-handle locks are designed specifically for removal from this angle.
Identify Lock Components for Removal
Knowing exactly what you are looking at prevents mistakes during the repair process. Proper identification speeds up the entire replacement workflow.
Locate Mounting Screws
Look for two screws typically found at the top and bottom of the interior lock plate. These secure the plate to the door and connect directly to the latch mechanism. Use a Phillips screwdriver to loosen them carefully.
Find the Retaining Nut
Behind the T-handle on the back of the door sits a metal retaining nut. This component holds the entire assembly tightly in place against the door surface. You will need an adjustable wrench or pliers to loosen this nut later.
Remove the Old Lock Assembly
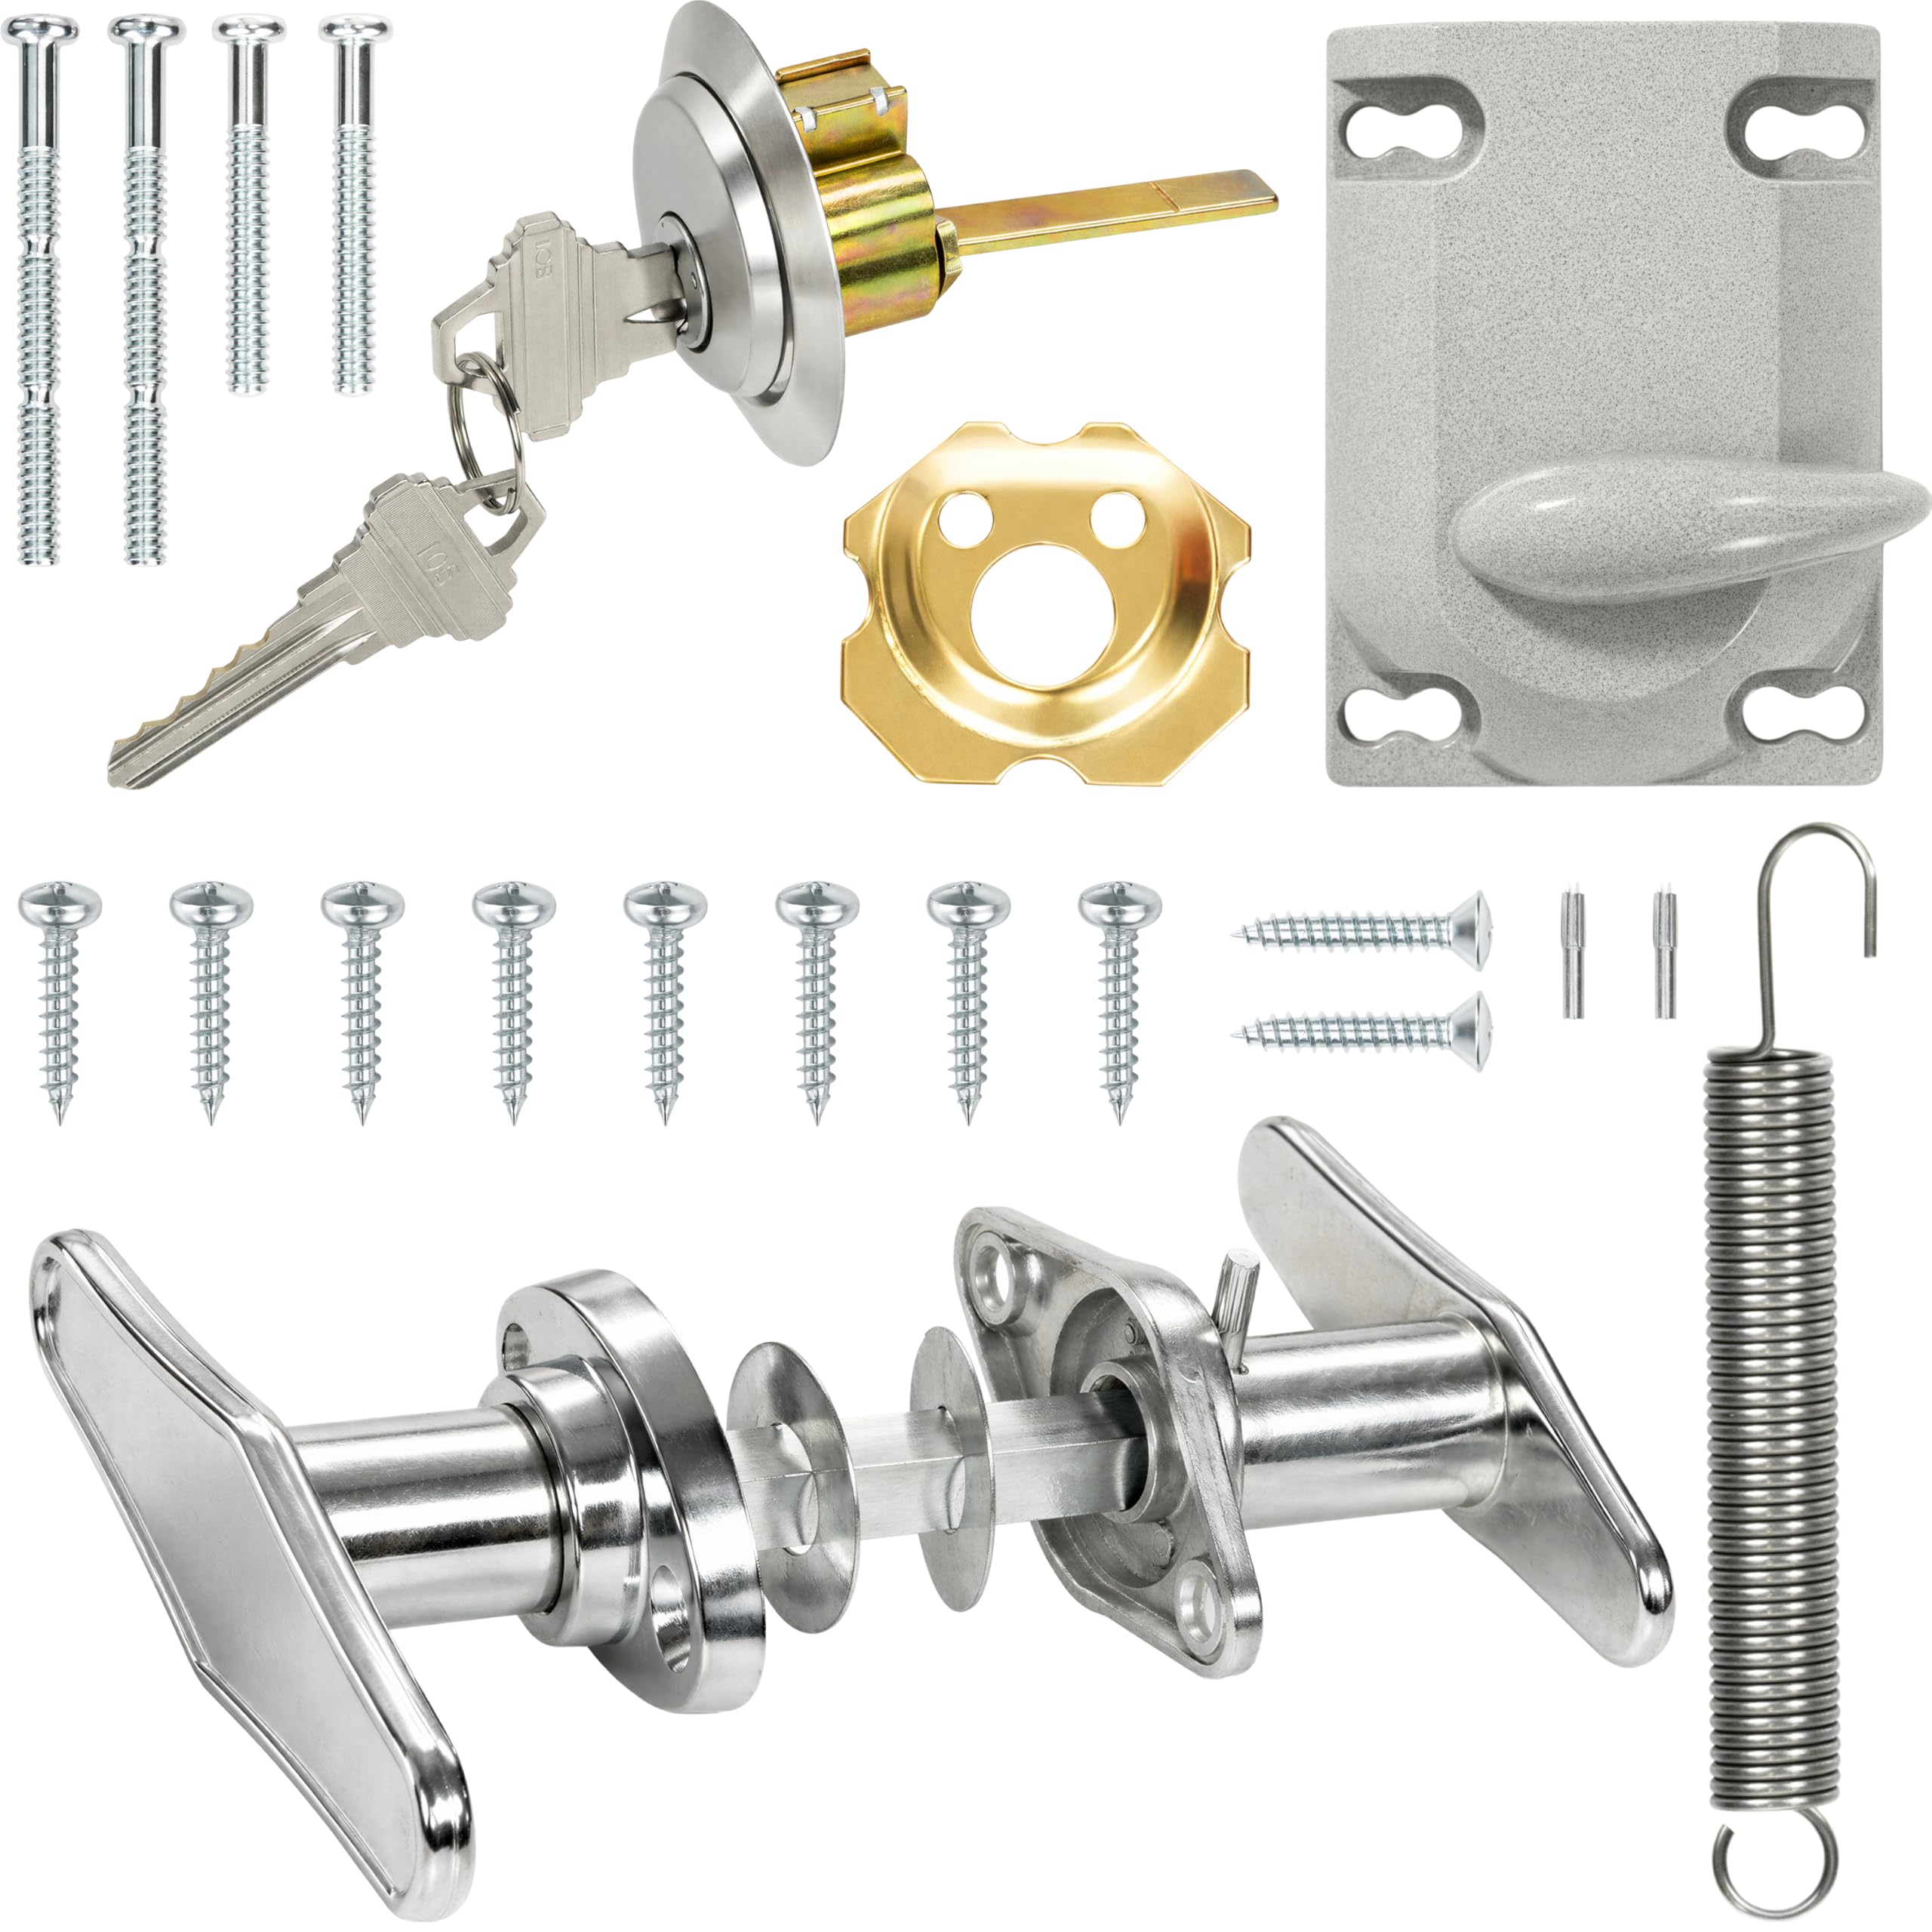
Take the broken lock out carefully to avoid damaging the door surface or losing small parts. Follow these steps to ensure a clean removal.
Loosen and Remove Mounting Screws
Start by unscrewing the two mounting screws on the interior plate completely. Do not pull them out until the plate is disengaged to help maintain alignment. Once loose, gently pull the plate forward away from the door.
Free a Stuck Lock Plate
If the plate does not come off easily it may be seized from rust or old paint. Use a small flathead screwdriver to gently pry it away from the latch mechanism. Avoid forcing it as this could damage the door surface.
Unscrew the Retaining Nut
With the plate removed you can now access the back of the T-handle shaft. Use an adjustable wrench or pliers to loosen the retaining nut. Turn it counterclockwise until it is fully off the shaft.
Pull Out the Old Lock
Once the nut is removed pull the entire lock cylinder and shaft out from the exterior side. Inspect the parts for wear rust or damage to confirm replacement was necessary. Keep the area clean before installing the new unit.
Install the New Garage Door Lock
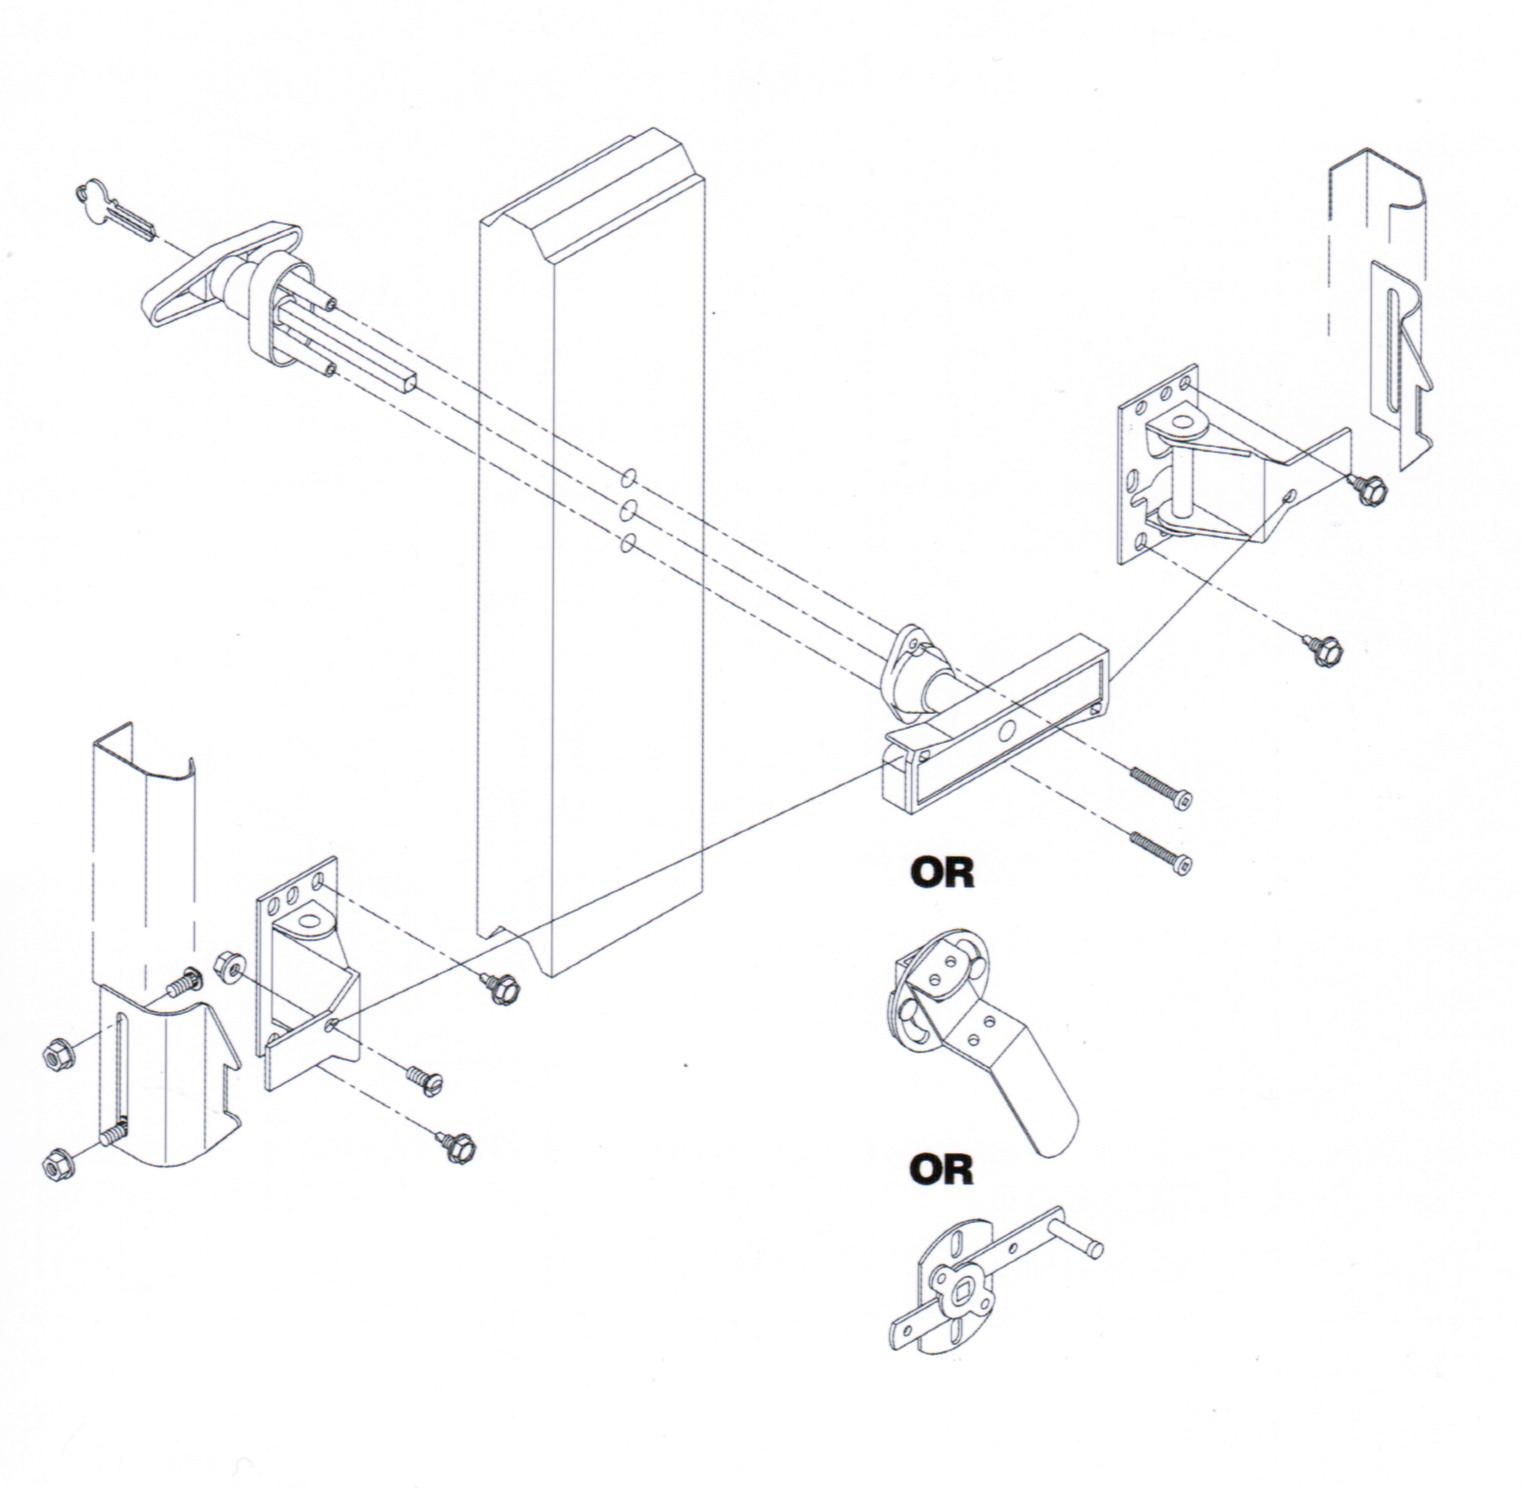
Put in the fresh lock with precision to ensure smooth and reliable operation. Proper alignment is critical for the mechanism to function correctly.
Insert from the Exterior Side
Slide the new T-handle lock through the existing hole from the outside of the door. Make sure the handle faces the correct direction which is usually horizontal when unlocked. Ensure it sits flush against the door surface.
Align the Interior Plate
From the inside align the new lock mounting holes with the original screw holes. If the latch does not line up the lock will not engage properly. Have an assistant hold the exterior handle in place while you position the interior plate.
Reattach Mounting Screws
Insert the original screws into the top and bottom of the lock plate. Tighten them securely with a screwdriver but do not overtighten them. Over-tightening can strip wood threads or warp the metal plate leading to failure.
Attach and Secure the Handle
Finish the mechanical connection so the lock turns smoothly without binding. This step ensures the handle stays attached during daily use.
Slide on the New Handle
Place the new T-handle onto the shaft protruding through the interior side of the door. Make sure it sits flush and turns freely before securing it. Check that the handle orientation matches your locking preference.
Tighten the Retaining Nut
Use a wrench to tighten the retaining nut behind the handle securely. Turn it clockwise until firm but ensure the handle still rotates without resistance. If it binds loosen the nut slightly to adjust.
Test Handle Movement
Turn the handle manually to check for smooth operation immediately. It should move freely between locked and unlocked positions. If it sticks double-check alignment and nut tightness.
Test the Lock Functionality
Verify everything works before calling the job done to ensure full security. These checks confirm the installation was successful.
Check Key Operation
Insert the key and turn it to engage the mechanism. The lock should engage and disengage the latch smoothly. If the key won’t turn ensure the lock is in the neutral position.
Confirm Latch Engagement
Close the door and verify the latch fully extends into the strike plate on the frame. A misaligned lock may not catch leaving the door insecure. Adjust the plate or strike if needed for a tight fit.
Eliminate Handle Wobble
A shaky handle means the retaining nut isn’t tight enough. Use the wrench to snug it further but stop once resistance is firm. Excessive force can damage internal components.
Cycle the Door Multiple Times
Open and close the garage door several times to ensure the lock doesn’t interfere. The handle and latch should stay clear of tracks and rollers. Listen for any unusual noises during operation.
Upgrade Your Garage Door Security

Don’t just replace the lock but improve your overall security posture. A new lock is a perfect chance to boost protection against intruders.
Install a Security Tab or Lock Pin
Add a lock pin or security tab to prevent thieves from lifting the T-handle. These simple devices block access to the shaft and foil common break-in methods. They are easy to install and highly effective.
Replace Proactively
Do not wait until you are locked out to act on failing hardware. If the key turns stiffly or the handle feels loose replace the lock immediately. Early action prevents emergencies and maintains home security.
Troubleshoot Common Lock Issues

Even with a new lock problems can arise during installation. Fix them fast with these targeted solutions.
Plate Won’t Come Off
If the interior plate resists removal do not force it. Use a small flathead screwdriver to gently pry between the plate and door. Apply light pressure around the edges to break any paint seal.
Lock Misaligned with Strike Plate
If the latch doesn’t meet the strike realign the lock carefully. Loosen the mounting screws slightly adjust the plate position then retighten. Small shifts make a big difference in performance.
Handle Feels Loose After Installation
A wobbly handle usually means the retaining nut needs more tightening. Recheck it with a wrench to ensure it is secure. If the problem persists inspect the shaft and nut for damage.
Key Won’t Turn in New Lock
Ensure the lock is in the neutral position before forcing the key. If it still won’t turn the internal mechanism may be stuck. Try lubricating the keyhole with graphite spray.
Maintain Long-Lasting Lock Performance
Keep your new lock working smoothly for years with simple maintenance. These habits extend the life of your hardware.
Avoid Overtightening Screws
Stripped screws are a common DIY mistake during installation. Tighten until snug and no more to preserve thread integrity. If original screws won’t hold replace them with slightly longer ones.
Lubricate for Smooth Operation
A drop of dry graphite lubricant in the keyway prevents sticking. Never use oil-based lubricants as they attract dirt and gum up. Regular lubrication ensures consistent performance.
Choose a Quality Replacement
Pick a new lock in better condition than the old one for best results. Look for solid metal construction and a smooth-turning mechanism. A small investment provides significant peace of mind.
Frequently Asked Questions About Fixing Garage Door Locks
How long does it take to fix a garage door lock?
Most homeowners can complete this repair in under 15 minutes. The process involves simple tools and straightforward steps that require no professional experience.
What tools do I need to replace a T-handle lock?
You need a Phillips screwdriver, an adjustable wrench, and a sturdy block to support the door. A small flathead screwdriver helps if the old plate is stuck.
Why won’t my new garage door key turn?
Ensure the lock is in the neutral position and the latch is not obstructed. If it persists, the internal mechanism might be defective or require graphite lubrication.
Can I replace the lock without removing the whole door?
Yes, you can replace the lock while the door is installed and propped open. You only need access to the interior and exterior sides of the specific lock area.
How much does a replacement garage door lock cost?
A standard replacement T-handle lock typically costs around $16. This affordable upgrade significantly improves your home security posture.
Key Takeaways for Fixing Your Garage Door Lock
Fixing a garage door lock is a quick low-cost project that delivers major security benefits. By securing the door first removing the old unit carefully and testing thoroughly you ensure reliable protection.
Take action today by inspecting your current lock and replacing it if signs of wear appear. Your home security depends on functional hardware that works smoothly every time.



