
Is your mortise lock stiff, wobbly, or refusing to latch? You are not alone with this issue. These century-old mechanisms were the gold standard before 1940 and often just need minor care to function again. Most problems are not fatal and can be resolved without replacing the entire unit.
You can fix mortise lock issues by following a systematic approach to diagnosis and repair. This guide teaches you how to clean internal parts, replace worn cams, and lubricate moving components. Your historic door will regain its security and smooth operation through these proven restoration steps.
Diagnose Common Mortise Lock Failures Accurately
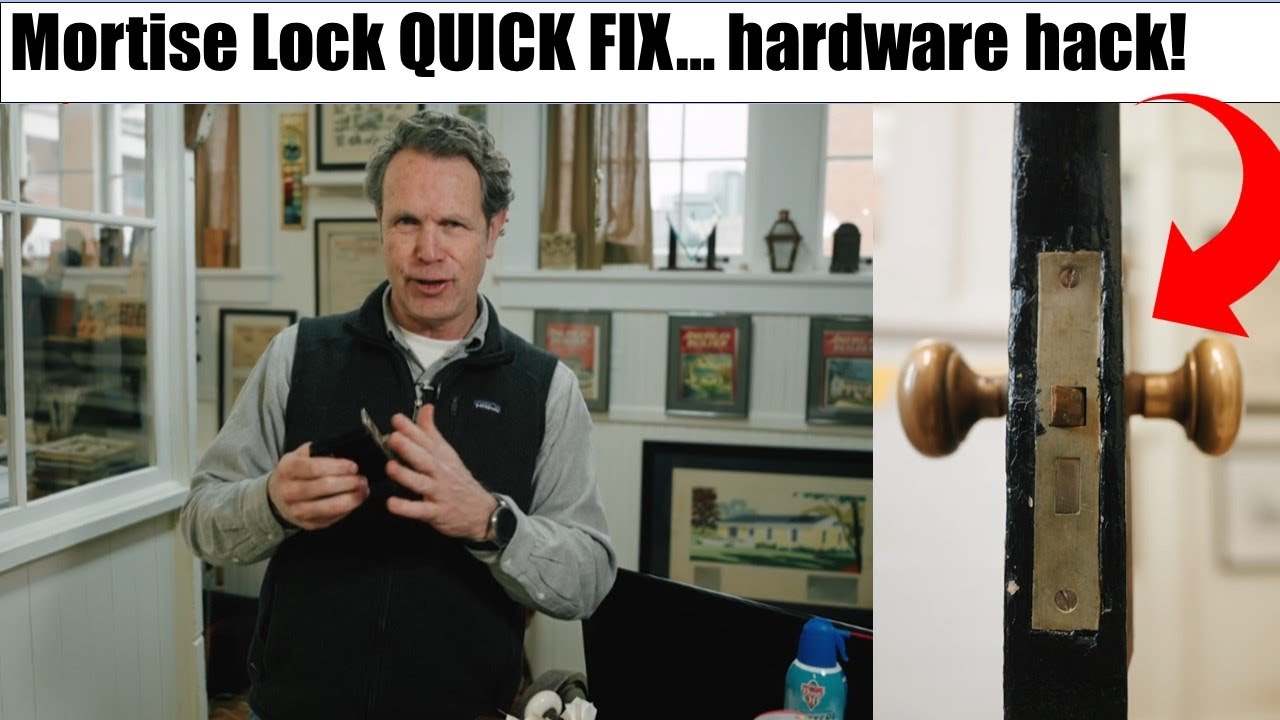
A misdiagnosis leads to unnecessary disassembly and wasted time on your project. You must identify the specific symptom before removing any screws from the door. Common issues include knobs that spin freely or deadbolts that refuse to engage.
Identify Specific Symptom Patterns
Check your hardware against these common failure modes to determine your next step.
- Knob spins freely: Likely a stripped set screw or broken spindle connection.
- Deadbolt won’t engage: Worn thumb turn cam or misaligned strike plate.
- Key won’t turn: Obstructed cylinder or internal binding from rust.
- Latch sticks: Paint buildup on the faceplate or dried internal springs.
- Loose hardware: Stripped wood around screw holes or missing retention tabs.
Test each function by turning the key and operating the thumb turn. Feel for resistance, play, or inconsistent action during operation.
Verify Door Alignment First
Ensure the issue is not simply poor door alignment or a shifted strike plate. Close the door slowly and watch how the latch enters the strike hole carefully. If it drags or misses, adjust the strike first to solve the problem.
Use a piece of chalk on the latch bolt to check contact points. Close the door gently to see if the mark transfers evenly. Uneven marks indicate you need realignment before touching the lock mechanism.
Remove the Mortise Lock Safely
Disassembly must be methodical to avoid losing small parts or damaging the finish. Vintage hardware requires gentle handling to preserve its historical value.
Extract Knobs and Cylinder Properly
Use a flathead screwdriver because most vintage knobs use original flathead screws exclusively. The presence of Phillips heads usually indicates later modifications to the hardware.
- Loosen the set screw on each knob carefully.
- Slide the spindle out through the lock body completely.
- Remove the interior thumb turn assembly from the door.
- Unscrew the cylinder retaining screw and pull it straight out.
Pro Tip: If the cylinder resists removal, do not force it. Spray WD-40 into the keyway and let it sit for ten minutes before trying again.
Pull the Lock Body from Door
Two screws secure the faceplate to the mortise pocket in the door edge. Remove them, then gently pry the lock body from the edge using a flat tool.
Scrape around the edges with a utility knife if paint has sealed it shut. Work slowly to avoid gouging the wood or damaging the door structure. Pull the entire mechanism free and place it on a clean work surface.
Clean All Internal Lock Components
Dirt, paint, and rust are the primary enemies of smooth lock operation. A thorough cleaning restores function to mechanisms that have sat neglected for decades.
Open the Lock Case Carefully
Remove the backplate screw to expose the internal mechanism fully. Carefully lift off the cover to reveal the reversible latch and deadbolt actuator.
- Reversible latch mechanism
- Deadbolt actuator assembly
- Thumb turn cam interface
- Cylinder housing unit
- Toggle levers and springs
Take photos at each step to ensure accurate reassembly later. Label screws in separate containers to keep track of small hardware.
Scrape and Flush Debris Away
Use a chisel or thumbnail to remove paint overspray from moving parts. Focus especially on areas around the latch and deadbolt tracks where buildup occurs.
Blow out dust and metal shavings with compressed air effectively. Focus on spring chambers and pivot points where debris accumulates over time. Scrub stubborn rust on the spindle with steel wool or a wire brush.
Expert Note: Never soak vintage brass components in liquid cleaners. This can damage the patina and weaken soft metals permanently.
Replace Worn Thumb Turn Cam
This is the most common failure point in old mortise locks today. The cam often wears down until it cannot turn the deadbolt mechanism.
Understand Why Cams Fail
Years of use wear down the square drive of the cam until it rounds out. Without sharp edges, it slips instead of turning the deadbolt effectively. Older cams had small retention tabs to prevent loosening that often break off.
Modern replacements often lack these tabs and require adhesive for long-term security. You must secure them properly to prevent future slippage issues.
Install New Cam with Adhesive
- Press the new cam onto the thumb turn shaft firmly.
- Tighten the set screw firmly to hold initial position.
- Apply epoxy or thread locker to the back of the cam.
Let the adhesive cure fully before reassembly begins. This prevents loosening without permanently bonding the parts together.
Test the cam by rotating the thumb turn to ensure crisp action. The deadbolt should extend and retract smoothly without hesitation.
Repair Stripped Knob Holes Effectively
Loose knobs mean poor leverage and eventual spindle failure if ignored. You can repair stripped holes in wooden knobs to restore tightness.
Fill and Re-drill Screw Holes
- Apply wood filler into the stripped hole in the knob.
- Let dry completely for at least two hours.
- Sand flush and pre-drill a pilot hole slightly smaller than the screw.
- Reinstall the knob and tighten securely into the new material.
Pro Tip: For frequent failures, consider upgrading to a brass-insert repair bushing. This provides permanent reinforcement for high-traffic doors.
Repeat this process for both interior and exterior knobs. This ensures balanced leverage and smooth operation across the set.
Lubricate for Smooth Operation
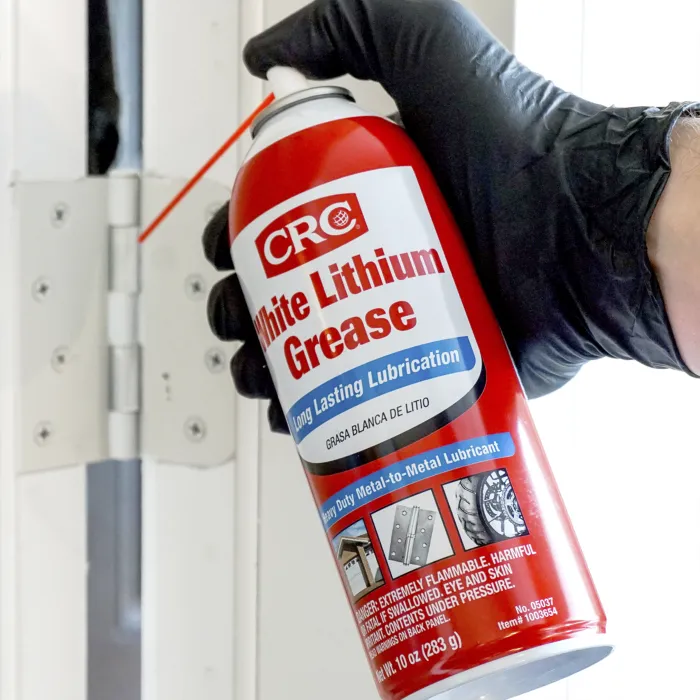
A century-old lock likely has zero lubrication left inside. Dry friction kills performance and causes premature wear on moving parts.
Use White Lithium Grease
Avoid standard oil because it attracts dust and turns to sludge over time. White lithium grease resists dust and moisture accumulation better than other options.
Apply white lithium grease to these critical areas:
- Deadbolt sliding track
- Latch return spring
- Toggle lever pivots
- Cam interface points
Work the mechanism by hand to spread the grease evenly. Extend and retract the latch and deadbolt repeatedly to distribute lubricant. Wipe away excess with a soft rag to prevent grime attraction.
Alternative Step: If rust is present, spray WD-40 first to clean. Work the parts, wipe clean, then apply the final grease layer.
Reassemble and Align Properly

Reassembly follows the reverse order of disassembly but requires precise alignment. Critical adjustments ensure the lock functions correctly within the door frame.
Reinsert the Lock Body
Slide the mechanism back into the mortise pocket carefully. Ensure the faceplate sits flush with the door edge before tightening.
Secure with both faceplate screws without overtightening. Brass threads strip easily so snug is enough for security.
Reattach Knobs and Spindle
- Insert the spindle through the knob and into the lock body.
- Adjust position so knobs sit tight against the escutcheon plates.
- Tighten set screws into the repaired holes securely.
Check knob alignment to ensure no wobble or binding exists. The knobs should feel solid and transfer motion efficiently.
Install Cylinder and Thumb Turn
Hand-thread the cylinder into place gently. Align the side notch with the retaining screw before tightening.
Tighten the screw securely and insert the key to test rotation. Reattach the interior thumb turn and operate the deadbolt to confirm full extension.
Test Full Functionality Thoroughly
Do not assume it works without verifying every function systematically. A quick test prevents call-backs and ensures security.
Performance Checklist
- Key turns smoothly in both directions
- Deadbolt extends fully and retracts completely
- Thumb turn operates without slippage
- Latch snaps back every time
- No grinding, sticking, or excessive play
Close the door and test under real conditions immediately. If the latch drags, adjust the strike plate position slightly.
Quick Fix: File the strike plate opening slightly if misaligned. Use a chisel to deepen the recess if needed for proper clearance.
Match Replacement Parts Correctly

Wrong parts cause misalignment and premature wear on your lock. You must know your measurements before ordering components online.
Know Your Critical Measurements
- Backset: Distance from door edge to center of keyhole.
- Center Distance: Vertical gap between spindle center and keyhole.
- Door Thickness: Usually 1 3/8 inch to 1 3/4 inch range.
- Forend Shape: Straight or curved faceplate matching existing cutout.
Take these measurements before ordering parts to ensure compatibility. Most mortise locks are reversible for left or right-hand doors.
Prevent Future Failures Effectively
A restored lock can last another 100 years with proper care. Regular maintenance prevents the need for major repairs later.
Schedule Regular Maintenance
- Every 6 months: Apply light coat of white lithium grease.
- Annually: Inspect knobs for looseness and clean keyway.
- After painting: Immediately remove overspray from faceplate.
Avoid over-tightening screws as excessive torque strips threads. Use adhesive for retention rather than force to protect components.
Final Thoughts on Fixing Your Mortise Lock
Fixing a mortise lock preserves both function and historical value. These mechanisms were engineered to endure and only need basic care to thrive. By cleaning internal parts, replacing worn cams, and applying proper lubrication, you ensure decades of reliable service.
Regular maintenance keeps paint, rust, and wear at bay effectively. Whether restoring a 1920s warehouse or a pre-war apartment, this process protects your security heritage. Your lock will continue working well into the future with these simple steps.
Frequently Asked Questions About Mortise Lock Repair
How do I know if my mortise lock needs repair?
Signs include a knob that spins freely, a deadbolt that won’t engage, or a key that won’t turn. Sticking latches and loose hardware also indicate a need for cleaning or part replacement.
Can I use regular oil to lubricate my vintage lock?
No, regular oil attracts dust and turns to sludge over time. You should use white lithium grease because it resists dirt and provides long-lasting protection for pivot points.
What causes a mortise lock thumb turn to slip?
The square drive of the cam wears down from years of rotation. This rounding prevents it from engaging the mechanism properly, requiring a new cam secured with thread locker.
How do I fix a stripped screw hole in a wooden knob?
Fill the hole with wood filler and let it dry completely. Sand it flush, pre-drill a pilot hole, and reinstall the set screw for a tight fit.
Are mortise locks reversible for different door swings?
Yes, most mortise locks are reversible by rotating the mechanism 180 degrees. This feature accommodates both left-hand and right-hand door swings easily.
When should I call a professional for lock repair?
Call an expert if the mortise pocket is cracked, internal levers are broken, or the lock body is bent. You may also need help if you cannot source compatible replacement parts.



