
A Samsung front-load washer that refuses to start or displays a persistent DC error code often has a faulty door lock assembly. This small component secures the door during cycles and signals the main board, so its failure halts your entire laundry routine instantly.
You can fix this issue yourself in under 30 minutes without calling a technician. This guide explains how to diagnose the fault with a multimeter, remove the old unit safely, and install a new Samsung washing machine door lock to get your machine running again.
Access the Door Lock Assembly on Your Model

Reaching the door lock requires removing specific external parts depending on your Samsung model configuration. Most front-load washers allow access by peeling back the rubber door boot seal, while some require removing the top panel.
Remove the Door Boot Seal Clamp
Open the washer door fully to locate the thin wire spring clamp at the bottom of the rubber seal. Insert a flat-blade screwdriver into the small notch on the clamp and gently pry the spring outward to release it. Work the wire around the seal until it is completely detached, then peel back the front edge of the rubber boot to expose the lock mounting area.
Pro Tip: Place a towel beneath the seal area to catch any residual water that might drip from the boot.
Use Top Panel Access If Required
Some models require you to remove the top cover for better visibility or access to internal components. Remove the screws along the back edge of the control panel and release the side locking tabs to lift the panel forward. Unscrew the top cover and lift it off, taping the lid down if necessary to prevent it from swinging while you work inside.
Diagnose the Faulty Door Lock Accurately
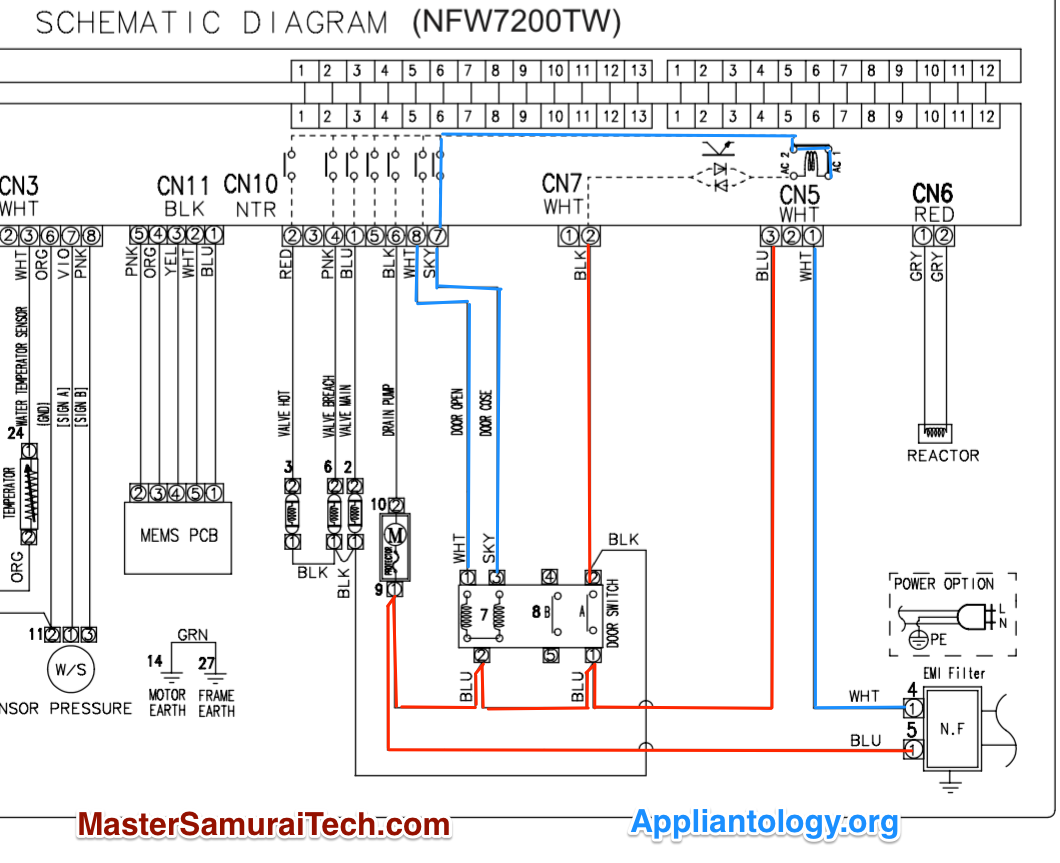
Confirm the door lock is the actual problem before purchasing a replacement part. Testing the electrical resistance with a multimeter ensures you do not replace a functional component unnecessarily.
Test Resistance with a Multimeter
Set your multimeter to measure Ohms (Ω) and unplug the washer before disconnecting the wiring harness from the lock. Test the terminals directly or at the CN8 connector on the main board using the specific wire color combinations below.
- Read Switch: Test White to Green wires for approximately 2 Ω when locked.
- Lock Contact: Test White to Red wires for approximately 2 Ω when locked.
- Unlock Contact: Test White to Blue wires for approximately 2 Ω when unlocked.
- Lock Motor: Test Black to Brown wires for a reading between 33 and 46 Ω.
If your readings differ significantly from these values or show no change between locked and unlocked states, the assembly is defective.
Identify Common Failure Signs
Listen closely for a missing mechanical “click” sound when you close the door firmly. Check the display panel to see if the door lock icon fails to illuminate after closing the lid. A persistent DC error code on Ecobubble models or a machine that stops mid-cycle are strong indicators of lock failure.
Warning: Never attempt to bypass the door lock mechanism. It is a critical safety feature designed to prevent injury and water damage.
Remove the Old Door Lock Assembly
Once you have confirmed the fault, proceed to remove the defective unit from the front panel chassis. This step requires careful handling of small screws and delicate plastic connectors.
Locate and Remove Mounting Screws
Look behind the front panel where you exposed the area earlier to find the door lock assembly. Identify the two or three Phillips screws holding the unit in place, noting that some models use one long screw at the top and shorter ones below. Remove each screw carefully and keep them separated to avoid confusion during reassembly.
Disconnect the Wiring Harness
Gently pull the lock forward to access the multi-pin connector block on the back of the unit. Press the release tab on each of the color-coded plugs and pull them straight out without wiggling excessively. Use needle-nose pliers only if a connector is stuck, taking care not to crush the plastic housing.
Note: Connectors are keyed to fit only one way. If a plug does not come out easily, check for a secondary release tab before applying force.
Remove Internal Cover If Present
Inspect your specific lock unit for a small plastic cover secured by three retaining tabs. Use a flat-blade screwdriver to gently release each tab with even pressure to avoid cracking the housing. Once the tabs are free, the internal switch and motor components are fully exposed for removal.
Install the New Door Lock Component
Installing the replacement part requires verifying compatibility and ensuring all electrical connections are secure before mounting the unit.
Verify Part Compatibility
Check that your replacement part matches your specific washer model number found on the side or back label. Common part numbers include DC64-02032A, SM-2234, and DN39-00427A, but physical layout and connector placement must match exactly. Choose OEM parts whenever possible to ensure reliable fit and long-term function.
Connect Wiring and Seat the Unit
Plug the wiring harness into the new lock assembly until each connector clicks securely into place. Align the square tab and switch hole on the new unit with the corresponding slots in the front panel housing. Push the assembly firmly into the channel until it sits flush and fully seated against the panel.
Secure with Mounting Screws
Hold the unit in place from the inside while you tighten the mounting screws from the back side. Tighten these screws by hand only, as over-tightening with a power tool can crack the plastic housing or strip the threads. Snap the internal cover back into place by pressing until all retaining tabs lock securely.
Expert Note: Using a power screwdriver increases the risk of damaging the fragile plastic housing. Stick to manual tools for this step.
Reassemble the Door Seal Properly
Proper reassembly of the door boot seal is crucial to prevent water leaks and ensure the door closes tightly during operation.
Reposition the Boot Seal
Tuck the rubber boot back over the lip of the front panel, working your way around the entire circle. Ensure the seal sits evenly with no twists, folds, or gaps that could cause leaking during the wash cycle.
Reinstall the Spring Clamp
Place the spring wire back into the groove of the seal, starting at the bottom notch. Stretch the wire into place using your fingers or a screwdriver, working slowly around the perimeter until the clamp is fully seated. Gently pull on the seal to confirm it is secure before closing the door.
Time-Saving Tip: Use a piece of tape to hold the seal in place temporarily while you install the spring clamp if you do not have a second pair of hands.
Test the Repair Successfully
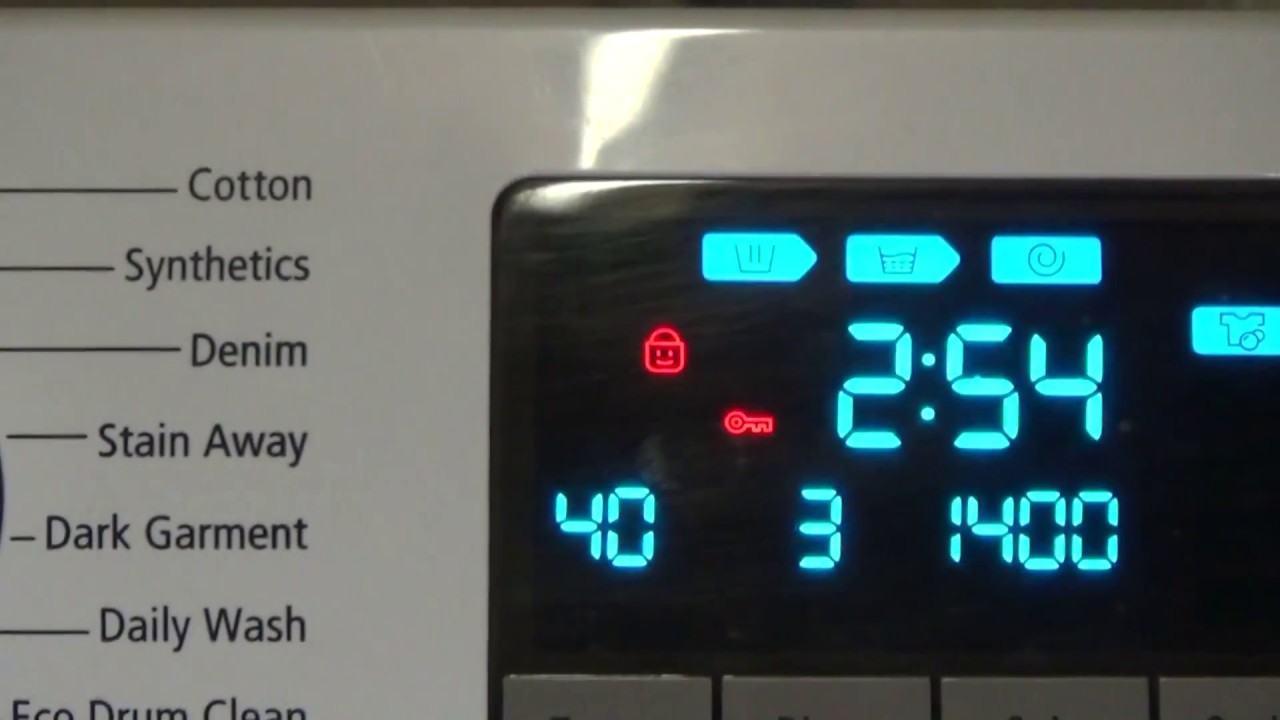
Verify that your Samsung washing machine door lock repair was successful by running a complete operational test.
Perform a Power Check
Plug the washer back in and turn on the water supply, then close the door firmly. You should hear a distinct mechanical click, and the lock icon should illuminate on the display immediately. If the light does not turn on, unplug the machine and recheck your wiring connections.
Run a Test Cycle
Load the washer with a few items or run it empty, then select a short wash cycle to begin. Observe the machine to ensure the door remains locked throughout the cycle and that no error codes appear on the screen. Confirm that the door unlocks automatically at the end of the cycle so you can open it.
If the DC code returns, inspect the CN8 port on the main board for corrosion or bent pins that might mimic a lock failure.
Prevent Future Door Lock Failures
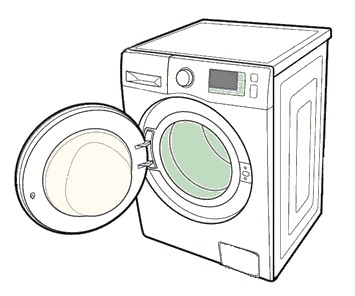
Extend the life of your new door lock by following simple maintenance practices that reduce wear on the mechanism.
Clean the Door Seal Regularly
Wipe the rubber boot groove weekly with a damp cloth and mild detergent to remove debris that can prevent proper latching. Leave the door slightly ajar after every use to allow the interior to dry completely and prevent mold growth.
Close the Door Firmly
Avoid slamming the door shut, as this can misalign the latch teeth. Instead, push the door closed with steady pressure to ensure full engagement of the locking mechanism and reduce solenoid wear.
Replace Worn Parts Early
Replace the lock immediately if you notice it taking longer to engage or if the clicking sound becomes inconsistent. Delaying repair risks mid-cycle stops and potential water damage to your flooring.
Troubleshoot Common Post-Repair Issues
Address specific problems that may arise after installing a new door lock assembly.
Door Won’t Unlock After Cycle
If the washer finishes but the door stays locked, the unlock contact wire connection may be faulty. Check the resistance between the White and Blue wires, which should read approximately 2 Ω when unlocked, or the control board may need replacement.
Humming Noise During Start
A humming sound may come from a nearby dryer rather than the washer itself. If the washer hums but does not start, the lock motor may be trying to engage mechanically, so test the Black to Brown wire resistance again.
Intermittent Locking Performance
Loose or corroded connectors often cause inconsistent locking behavior. Re-seat all plugs firmly and inspect for bent pins or moisture, using electrical tape to secure any loose wires.
Frequently Asked Questions About Samsung Washing Machine Door Lock Repair
How much does a Samsung door lock replacement cost?
The part typically costs less than $50, making it a cost-effective DIY repair compared to a professional service call.
Can I run my washer if the door lock is broken?
No, you cannot run the washer because the machine will not start or will stop mid-cycle to prevent water leakage and injury.
Why does my Samsung washer show a DC error code?
The DC error code usually indicates a communication failure between the door lock assembly and the main control board, often due to a faulty lock.
Do I need special tools to replace the door lock?
You only need a Phillips screwdriver, a flat-blade screwdriver, and optionally a multimeter for diagnosis, making this a beginner-friendly repair.
How long does it take to fix the door lock?
Most users can complete the entire Samsung washing machine door lock repair process in under 30 minutes with basic tools.
Key Takeaways for Successful Samsung Washing Machine Door Lock Repair
Fixing a Samsung washing machine door lock is a straightforward task that restores your appliance to full working order without expensive service fees. By diagnosing the issue with a multimeter, verifying part compatibility, and following safe installation steps, you can complete this repair in less than half an hour. Always disconnect power before starting, use manual tools to avoid damage, and test the unit thoroughly to ensure a lasting fix.



