
A sliding glass door that refuses to lock creates an immediate security risk for your home. If your latch slides past the frame or the handle feels loose, you likely need to learn how to repair sliding door lock mechanisms yourself. Most failures stem from simple misalignment rather than broken parts.
You can often fix these issues in minutes using basic tools like a screwdriver. This guide explains how to diagnose loose brackets, realign hardware, and replace worn handles without calling a technician. Follow these steps to restore smooth operation and full security to your entryway.
Diagnose Why Your Sliding Door Lock Fails
Identifying the root cause prevents unnecessary part replacements and saves time. A quick visual inspection reveals whether the issue is mechanical wear or simple misalignment.
Check for Loose Locking Brackets
The most common failure point is the metal locking bracket on the door frame. This component often becomes loose due to daily vibration and use.
* Wiggle the bracket with your hand to check for movement.
* If it moves up and down, the screws have loosened and caused misalignment.
* If the bracket is solid, the problem likely lies within the handle mechanism itself.
Test Handle and Latch Movement
Operate the lock using both the interior thumb-turn and exterior key. Pay close attention to how the mechanism feels during operation.
* Loose handle: The grip spins without engaging the latch internally.
* Stiff rotation: Internal gears may be corroded or worn out.
* No movement: The mechanism could be completely seized or broken.
Observe Latch Engagement Path
Close the door slowly and push the lock lever down while watching the latch. Note exactly where the metal bolt goes when it extends.
* If the latch hits the frame below the hole, the bracket sits too low.
* If the latch glides past the cutout entirely, the bracket has dropped or shifted.
* If it catches but the door still wobbles, the latch or keeper is worn.
Realign a Loose Locking Bracket in Minutes
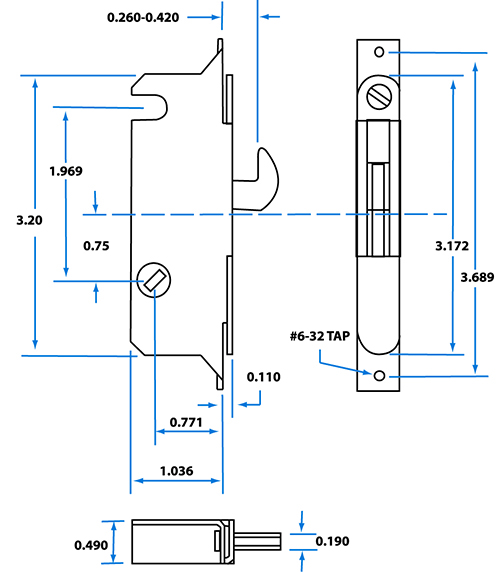
When vibration causes the bracket to shift, realignment restores function quickly. This process typically takes under five minutes and requires no new parts.
Position the Bracket Correctly
Manually press the loose locking bracket down until it sits flush against the door frame. You must align the upper cutout directly with the path of the extending latch.
* Ensure the latch aims straight into the top slot when the door closes.
* Leave the door slightly ajar to watch the latch trajectory during testing.
* Pro Tip: Use one hand to hold the bracket while tightening screws to prevent slipping.
Tighten Mounting Screws Securely
Use a Phillips screwdriver to secure the two screws holding the bracket to the frame. Apply steady pressure to ensure a firm hold.
* Tighten until the bracket is snug and has zero wobble.
* Stop immediately if you feel increased resistance to avoid stripping soft frame materials.
* Replace screws with slightly larger ones if the original holes feel stripped.
Verify the Lock Catches Properly
Test your repair work by performing a simple three-step sequence. This confirms the latch now hooks securely.
1. Pull the handle up to fully retract the latch.
2. Close the door completely to ensure proper framing.
3. Push the lock lever down to extend the latch.
The latch must hook into the upper cutout without sliding past. Repeat the alignment process if the latch still misses the target.
Replace Worn Lock Handle and Keeper Assembly
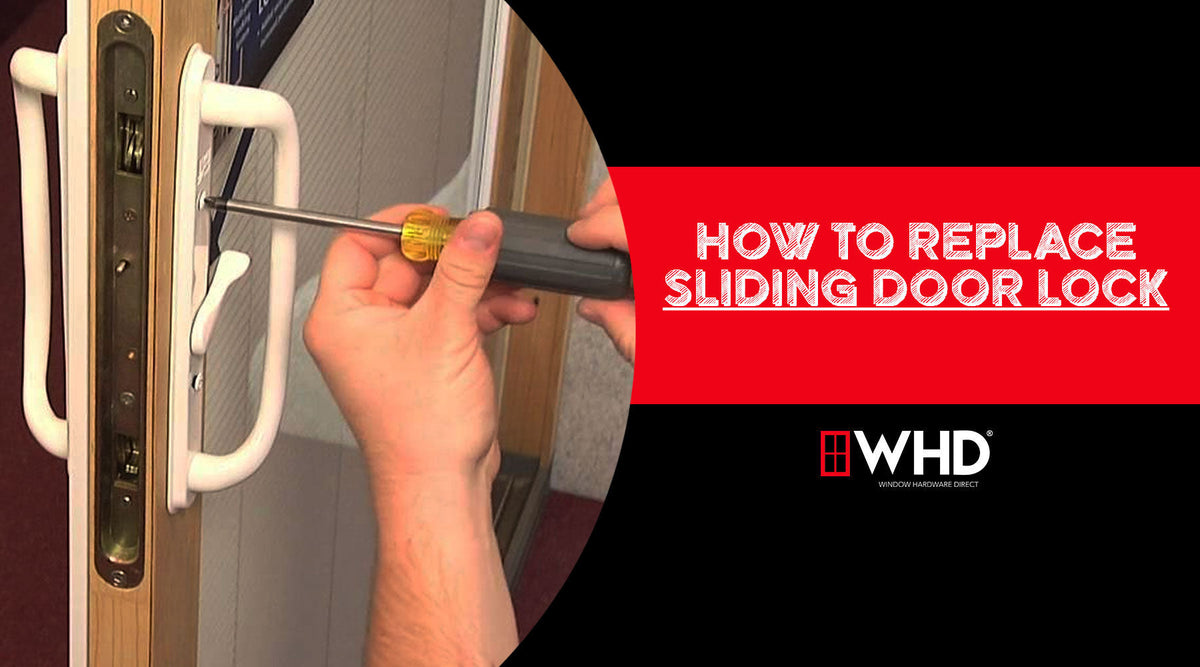
Realignment will not fix broken internal gears or cracked housings. You must replace both the handle and keeper if components show visible wear.
Remove the Old Handle Assembly
Start by extracting the existing hardware from the interior side of the door edge. Work gently to avoid damaging the door frame.
* Unscrew the two mounting screws located on the interior side.
* Pull the handle assembly from both sides until it separates from the door.
* Inspect the removed unit for cracked housing or stripped gears.
Keep the old parts nearby to use as a reference when purchasing your replacement kit.
Install the New Lock Handle
Place the new handle assembly into the door cavity and align it carefully. Proper positioning ensures the latch extends toward the correct spot on the frame.
* Insert the new handle and align the latch with the strike zone.
* Secure the unit with the provided screws using medium pressure.
* Test the latch movement before final tightening to ensure smooth extension.
Fit and Calibrate the New Keeper
Install the new keeper on the door frame where the old one was located. Precise vertical calibration is critical for proper latching.
* Hold the keeper flush against the frame surface.
* Lift the keeper a few millimeters if the latch sticks or fails to enter.
* Use a pencil mark or thin shim to test the height before final tightening.
Once the latch enters the cutout easily, tighten the screws permanently to secure the keeper.
Test Lock Function and Security Standards
Never assume a repaired lock is secure without rigorous testing. Verification ensures your home remains safe from intruders.
Check Smooth Operation
Operate the lock from both the inside and outside to confirm fluid movement. The mechanism should never grind or stick during normal use.
* Insert the key from outside and turn it freely in both directions.
* Rotate the interior thumb-turn without applying excessive force.
* Open and close the door five to ten times to verify consistent engagement.
Assess Security and Stability
Perform a physical inspection of the locked door to ensure no gaps exist. A secure door should feel solid when shaken.
* Look for visible gaps between the door and frame that allow tool insertion.
* Grasp the handle and shake the door to check for lateral wobble.
* Confirm the latch seats fully into the upper cutout of the keeper.
If the door rattles or the latch feels shallow, recheck the keeper position immediately.
Prevent Future Sliding Door Lock Problems
Regular maintenance extends the life of your hardware and prevents sudden security failures. Simple habits keep your locking mechanism functioning smoothly.
Schedule Annual Inspections
Check your sliding door lock once a year or after severe weather events. A brief inspection catches loose screws before they cause misalignment.
* Verify bracket tightness and latch movement.
* Ensure the handle remains stable and responsive.
* Tighten any loose screws before they strip the surrounding material.
Avoid Over-Tightening Screws
Apply only enough torque to make screws snug. Over-tightening strips screw holes and warps metal brackets over time.
* Use medium pressure when securing hardware.
* Stop turning as soon as you feel significant resistance.
* Replace stripped screws immediately rather than forcing them.
Replace Parts in Pairs
Always install a new handle and keeper together for best results. Mixing old and new parts often leads to mismatched alignment and premature wear.
* Buy a complete replacement kit for your specific door model.
* Install all new components simultaneously for uniform performance.
* Discard worn parts to avoid accidental reinstallation later.
Frequently Asked Questions About Sliding Door Locks
Why does my sliding door latch slide past the bracket?
This usually happens because the locking bracket has become loose and dropped out of alignment. Vibration from daily use loosens the mounting screws, causing the latch to miss the upper cutout entirely.
How do I know if I need to replace the whole lock?
You need a full replacement if the handle feels loose, spins without engaging, or if the key will not turn. Realignment only works if the bracket is loose but the internal mechanism remains intact.
Can I fix a sliding door lock without new parts?
Yes, if the issue is purely misalignment caused by a loose bracket. Simply pushing the bracket back into position and tightening the screws often resolves the problem instantly.
What tools do I need to repair a sliding door lock?
You typically only need a Phillips head screwdriver for both realignment and replacement tasks. Replacement kits include all necessary hardware, so no special tools are required.
How often should I inspect my sliding door lock?
Inspect your lock annually or immediately after storms and heavy usage periods. Regular checks prevent minor loosening from turning into a major security vulnerability.
Key Takeaways for Fixing Your Sliding Door Lock
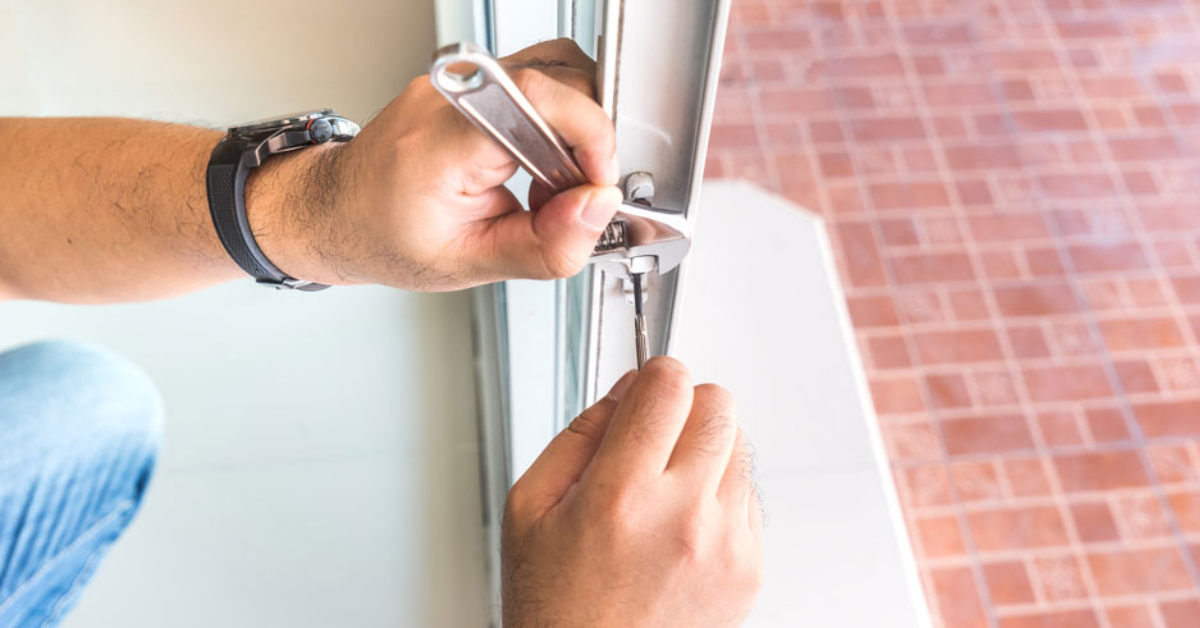
Most sliding door lock failures result from a loose locking bracket or minor misalignment rather than broken parts. You can often resolve these issues in under five minutes by simply tightening screws and realigning the bracket. When internal wear occurs, replacing the handle and keeper together restores full security in less than twenty minutes.
Always test your repair thoroughly by checking for smooth operation and zero wobble. Schedule annual inspections to catch loose hardware early and maintain a secure home environment.



