
A stuck antique mortise lock feels like a mechanical puzzle frozen in time. Unlike modern cylindrical locks, mortise lock repair on these vintage units requires patience and respect for their intricate brass and bronze internals.
This guide reveals how to diagnose binding mechanisms, remove stubborn paint layers, and fix broken handles on locks from the early 1900s. You will learn to restore smooth operation while preserving the historical integrity of your door hardware.
Diagnose Why Your Mortise Lock Won’t Budge
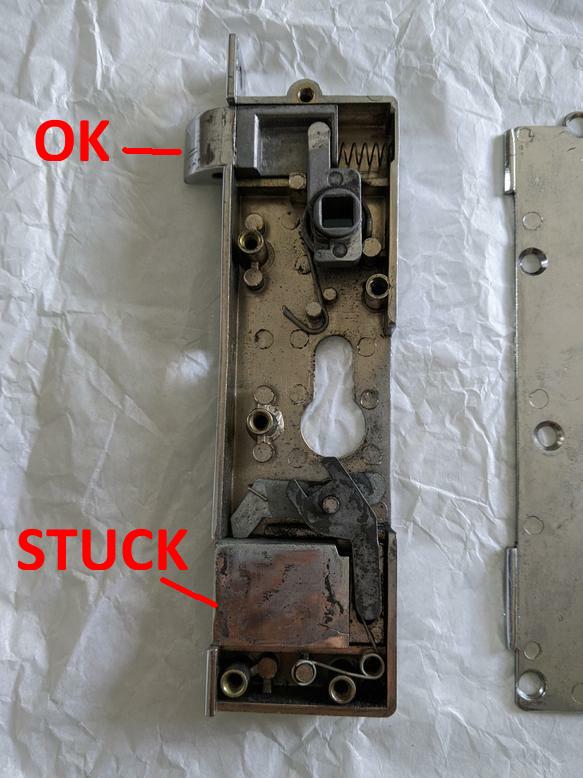
Old locks often fuse to the door frame due to decades of paint accumulation or previous botched repairs. Before forcing the unit out, you must identify exactly what is holding it in place to avoid damaging the door or the lock case.
Identify Protruding Internal Screws
In many vintage cases, a screw used as a makeshift axle protrudes slightly from the case side. This specific repair involved a screw threaded through the entire enclosure to act as a spring pivot. Although someone ground the head flat, it remained slightly proud and caught on the door frame during extraction.
- Look for screw heads on the case edge that do not align with standard fasteners.
- Gently wiggle the lock while pulling outward to feel where it binds.
- Remove any non-original screws immediately to free the unit.
- Plan to replace these with flush shoulder rivets during reassembly.
Disassemble and Inventory Antique Lock Parts
Once the lock is free from the door, place every component on a clean work surface. Label each piece carefully because many internal parts are hand-fitted and not interchangeable with modern replacements.
Essential Components to Identify
Your antique unit likely contains specific hand-forged elements that define its era. The National Lock Company unit discussed here features a hand-forged wrought iron handle that is thin and brittle. Other critical parts include the day bolt with a modern cylinder, the main latch, the dead bolt, and the interior handle shaft.
- Wrought iron handle: Prone to fracture under high torque.
- Day bolt: Often retains a functional modern cylinder.
- Main latch and dead bolt: Test these for independent movement.
- Latch retraction bar: A linkage that pulls the main latch back.
- Interior handle shaft: Frequently worn down by decades of use.
Remove Heavy Paint Buildup
Thick layers of paint can seal joints and prevent internal mechanisms from moving. Use a heat gun and a dental scraper to gently clear paint from the latch face, bolt edges, and mounting surfaces.
- Apply heat briefly to soften the paint without damaging the metal.
- Scrape away residue from handle mounting holes and case edges.
- Avoid sandblasting or harsh chemical strippers on soft brass.
- Ensure all moving surfaces are free of obstruction before testing.
Inspect the Internal Brass Mechanism
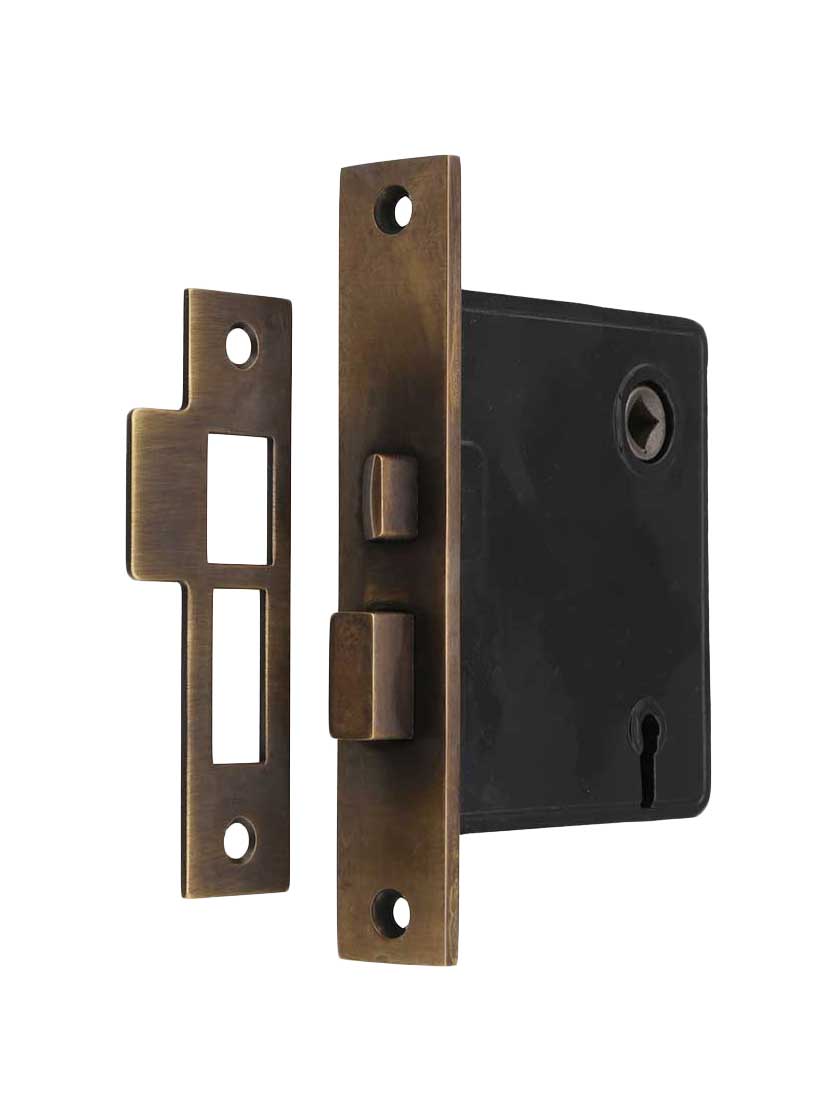
Open the lock case with care since vintage units often use brass side plates held by rivets. Drill out rivets only if absolutely necessary and plan to replace them with new brass shoulder rivets when you close the case.
Clear Debris and Nesting Material
Old sealed units often harbor surprises like small spider nests or debris from decades of neglect. You may also find old embossing labels inside that hint at previous owners or repair dates.
- Use compressed air to blow out dust from internal galleries.
- Clean gently with a soft brush to avoid scratching soft metals.
- Never use high-pressure water as moisture accelerates corrosion.
- Inspect for any foreign objects blocking the bolt channels.
Test Functional Components for Binding
Evaluate each locking feature systematically to determine which parts need cleaning or replacement. Sticky latches and stiff bolts are common complaints in century-old hardware.
Fix a Sticky Main Latch

The main latch often drags due to dried grease and corrosion inside the channel. Remove the latch from the case and soak it in light penetrating oil for two hours to loosen the gunk.
- Remove the latch assembly from the lock case.
- Soak the part in penetrating oil for at least two hours.
- Work the spring-loaded plunger by hand until it moves freely.
- Polish the latch face with 600-grit paper to remove sharp burrs.
Correct Exterior Latch Retraction Issues
If the exterior latch does not retract fully, the linkage may be misaligned or the retraction arm bent. Operate the handle manually and watch the latch lift arm for binding points.
- Observe the latch lift arm as you turn the handle.
- Adjust the pivot point if the arm binds before full retraction.
- Bend the arm slightly with needle-nose pliers for better alignment.
- File the pivot hole if minor bending does not solve the issue.
Repair the Soft Lock Feature
Some antique mortise locks include a “soft lock” function that disables the exterior handle while allowing interior exit. This feature acts as a precursor to modern privacy locks found in bathrooms.
Troubleshoot the Soft Lock Button
If the button fails to engage, check for spring fatigue within the mechanism. The original spring may have flattened over time, preventing the locking bar from moving into position.
- Inspect the button mechanism for a worn or missing coil spring.
- Replace flattened springs with small coils measuring 1/2 inch long.
- Ensure the locking bar moves freely between the spindle and latch.
- Test that the exterior handle spins freely when the button is engaged.
Fix a Stiff Dead Bolt Mechanism
A dead bolt that requires excessive force to turn is a primary cause of handle breakage. The wrought iron handle on this unit snapped because the bolt channel was too tight or misaligned.
Common Causes of Dead Bolt Stiffness
Stiffness usually stems from misalignment with the strike plate or corrosion inside the bolt channel. Worn cams or improper spindle length can also create unnecessary friction during operation.
- Check alignment between the bolt and the door strike plate.
- Look for corrosion buildup inside the bolt travel channel.
- Inspect the drive cam for signs of wear or deformation.
- Verify the spindle length matches the door thickness.
Step-by-Step Dead Bolt Repair
- Remove the dead bolt completely from the lock case.
- Clean the bolt channel with a brass brush and dry lubricant.
- Polish the bolt edges to reduce friction against the case walls.
- Fabricate a new drive cam from brass stock if the original is worn.
- Test retraction using only the key to ensure smooth operation.
Replace the Worn Interior Handle Shaft

The central shaft connecting the interior handle often wears down until it loses its shape. This wear creates slop that prevents full latch retraction and stresses the handle material.
Fabricate a Custom Shaft Replacement
Original equipment manufacturer parts are unavailable for locks this old. You must measure the original dimensions and fabricate a new shaft using brass rod or mild steel stock.
- Measure the diameter and length of the original worn shaft.
- Select a 1/4 inch brass rod or mild steel bar for the new part.
- Turn down the ends on a lathe to match the spindle profile.
- Cut a flat side if the handle secures with a set screw.
Restore the Latch Retraction Bar Function
This ingenious mechanical link allows the door to open with one motion when the key retracts the dead bolt. The bar pushes forward to pull the main latch back simultaneously.
How the Retraction Linkage Works
When the key turns the dead bolt fully, a cam pushes the latch retraction bar forward. This bar engages the main latch and pulls it back so you do not need to turn the interior handle.
- Ensure the bar slides freely within its guide channel.
- Lubricate pivot points with graphite powder instead of oil.
- Adjust timing so the bar engages only when the bolt is fully back.
- Check for bending that might prevent full engagement.
Address Hidden Past Repairs
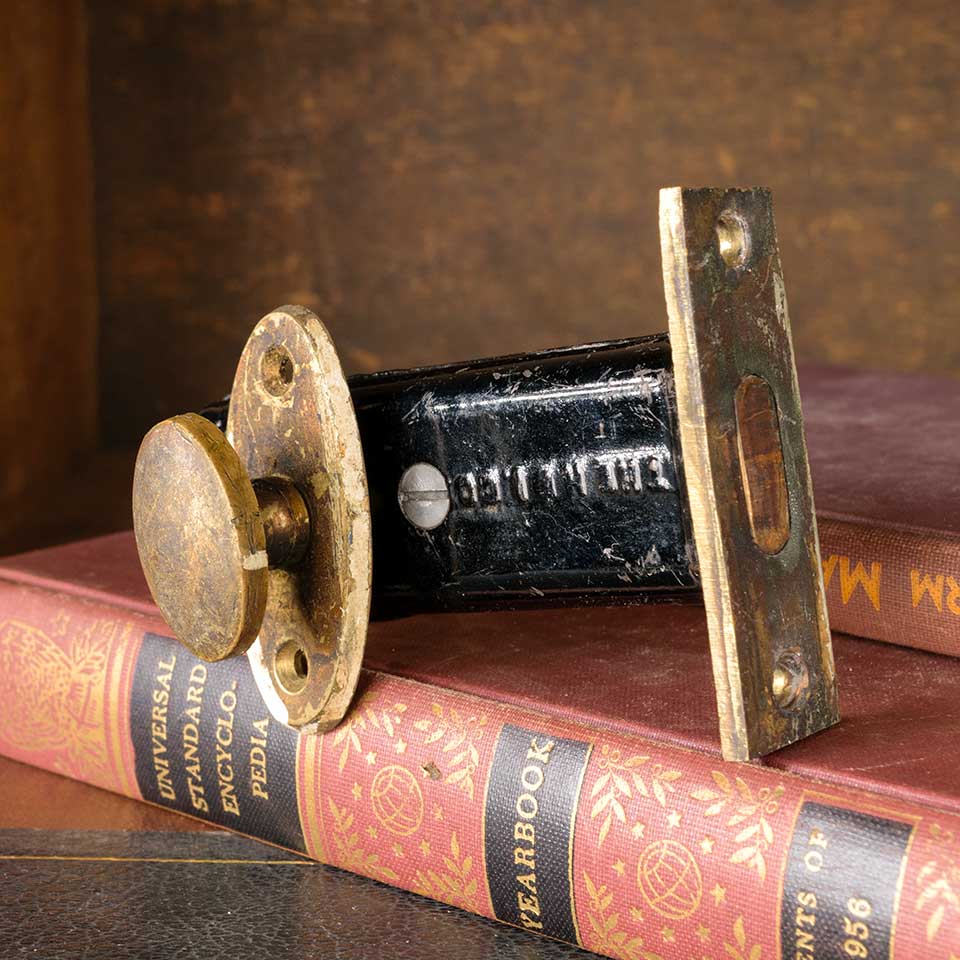
The screw acting as an axle in this unit was a makeshift fix from a previous owner. While it functioned for decades, it created the protrusion that made removal difficult and poses a long-term liability.
Install a Permanent Shoulder Rivet
Replace any threaded screws used as axles with proper shoulder rivets. This provides a smooth surface for rotation and eliminates the risk of protrusion.
- Remove the existing screw axle from the lock case.
- Drill the hole to a uniform diameter such as 3/16 inch.
- Insert a brass shoulder rivet to serve as a smooth axle.
- Peen the ends of the rivet to secure it permanently.
Reassemble and Test Your Mortise Lock
With all parts cleaned and repaired, reassemble the internal components in reverse order. Secure the side plates with your new brass rivets and reattach the handles for final testing.
Final Operation Checklist
- Main latch retracts fully when the handle turns.
- Dead bolt extends and retracts smoothly with the key.
- Key unlocking the dead bolt activates the latch bar.
- Soft lock button disables the exterior handle effectively.
- No binding occurs when the case is seated in the door.
Maintain Your Antique Mortise Lock
Regular care preserves both the function and value of your historic hardware. Proper maintenance prevents the buildup that causes sticking and failure in the first place.
Preventive Maintenance Tips
- Lubricate moving parts annually with dry graphite powder.
- Check handle tightness every six months to prevent wear.
- Clean paint from the strike plate and latch edge regularly.
- Verify door alignment to ensure the lock does not bind.
When to Call a Specialist
Contact a professional if you encounter broken internal cams or a cracked case. You should also seek help if keyways are damaged or if you wish to preserve strict historical integrity.
Frequently Asked Questions About Mortise Lock Repair
Can I use WD-40 on an antique mortise lock?
No, you should avoid WD-40 because it attracts dust and eventually gums up the mechanism. Use dry graphite powder or light penetrating oil specifically designed for locks to ensure smooth long-term operation.
How do I remove a mortise lock stuck with paint?
Apply heat gently with a heat gun to soften the paint layers. Use a dental scraper or putty knife to carefully clear the paint from the edges and moving parts before attempting to pry the lock from the door.
What caused my antique wrought iron handle to break?
The handle likely broke due to a stiff dead bolt requiring excessive force to turn. The thin hand-forged iron could not withstand the torque needed to overcome the internal friction and corrosion.
Where can I find replacement parts for a National Lock Company mortise lock?
Original parts are generally unavailable since the company dates back to 1903. You will likely need to fabricate custom replacements like shafts or cams using brass stock or seek salvage from other antique locks.
Why does my dead bolt feel stiff even after cleaning?
Stiffness often persists due to misalignment with the strike plate or a bent retraction arm. Check that the bolt travels straight into the door frame and adjust the pivot points if the linkage binds.
Key Takeaways for Successful Mortise Lock Repair
Restoring a century-old mortise lock blends mechanical troubleshooting with historical preservation. By diagnosing hidden protrusions, fabricating custom shafts, and clearing decades of paint, you can return these magnificent machines to smooth operation.
Remember that proper lubrication with dry graphite and regular alignment checks will keep your antique lock functioning for another century. Start your restoration today by carefully removing the unit and inventorying its unique mechanical features.



