
Is your deadbolt sticking or refusing to turn? A malfunctioning lock compromises your home security and causes daily frustration. Most deadbolt lock repair tasks require only basic tools and simple techniques to resolve effectively.
You can diagnose the root cause and apply professional fixes without calling a technician. This guide covers lubrication, alignment adjustments, and component replacement to restore smooth operation.
Diagnose the Real Problem First
Identifying the exact source of failure prevents wasted effort on unnecessary repairs. You must determine if the issue lies within the lock mechanism or the door structure itself.
Perform the Open-Door Test
Operate the deadbolt while the door stands fully open to isolate the variable.
* Smooth operation: The bolt extends easily, indicating the cylinder works and the strike plate is misaligned.
* Stiff or jammed: The key resists turning, pointing to internal damage or dirt within the cylinder.
Identify Common Failure Signs
Specific symptoms reveal the underlying mechanical issue requiring attention.
* Stiff key turn: Usually caused by dirt buildup or a lack of proper lubrication.
* Key won’t turn at all: Often indicates worn pins, a bent key, or severe internal damage.
* Door won’t latch: Typically results from a misaligned strike plate or house settling.
* Security concern: Lost keys require rekeying rather than simple mechanical repair.
Fix Stiffness with Proper Lubrication
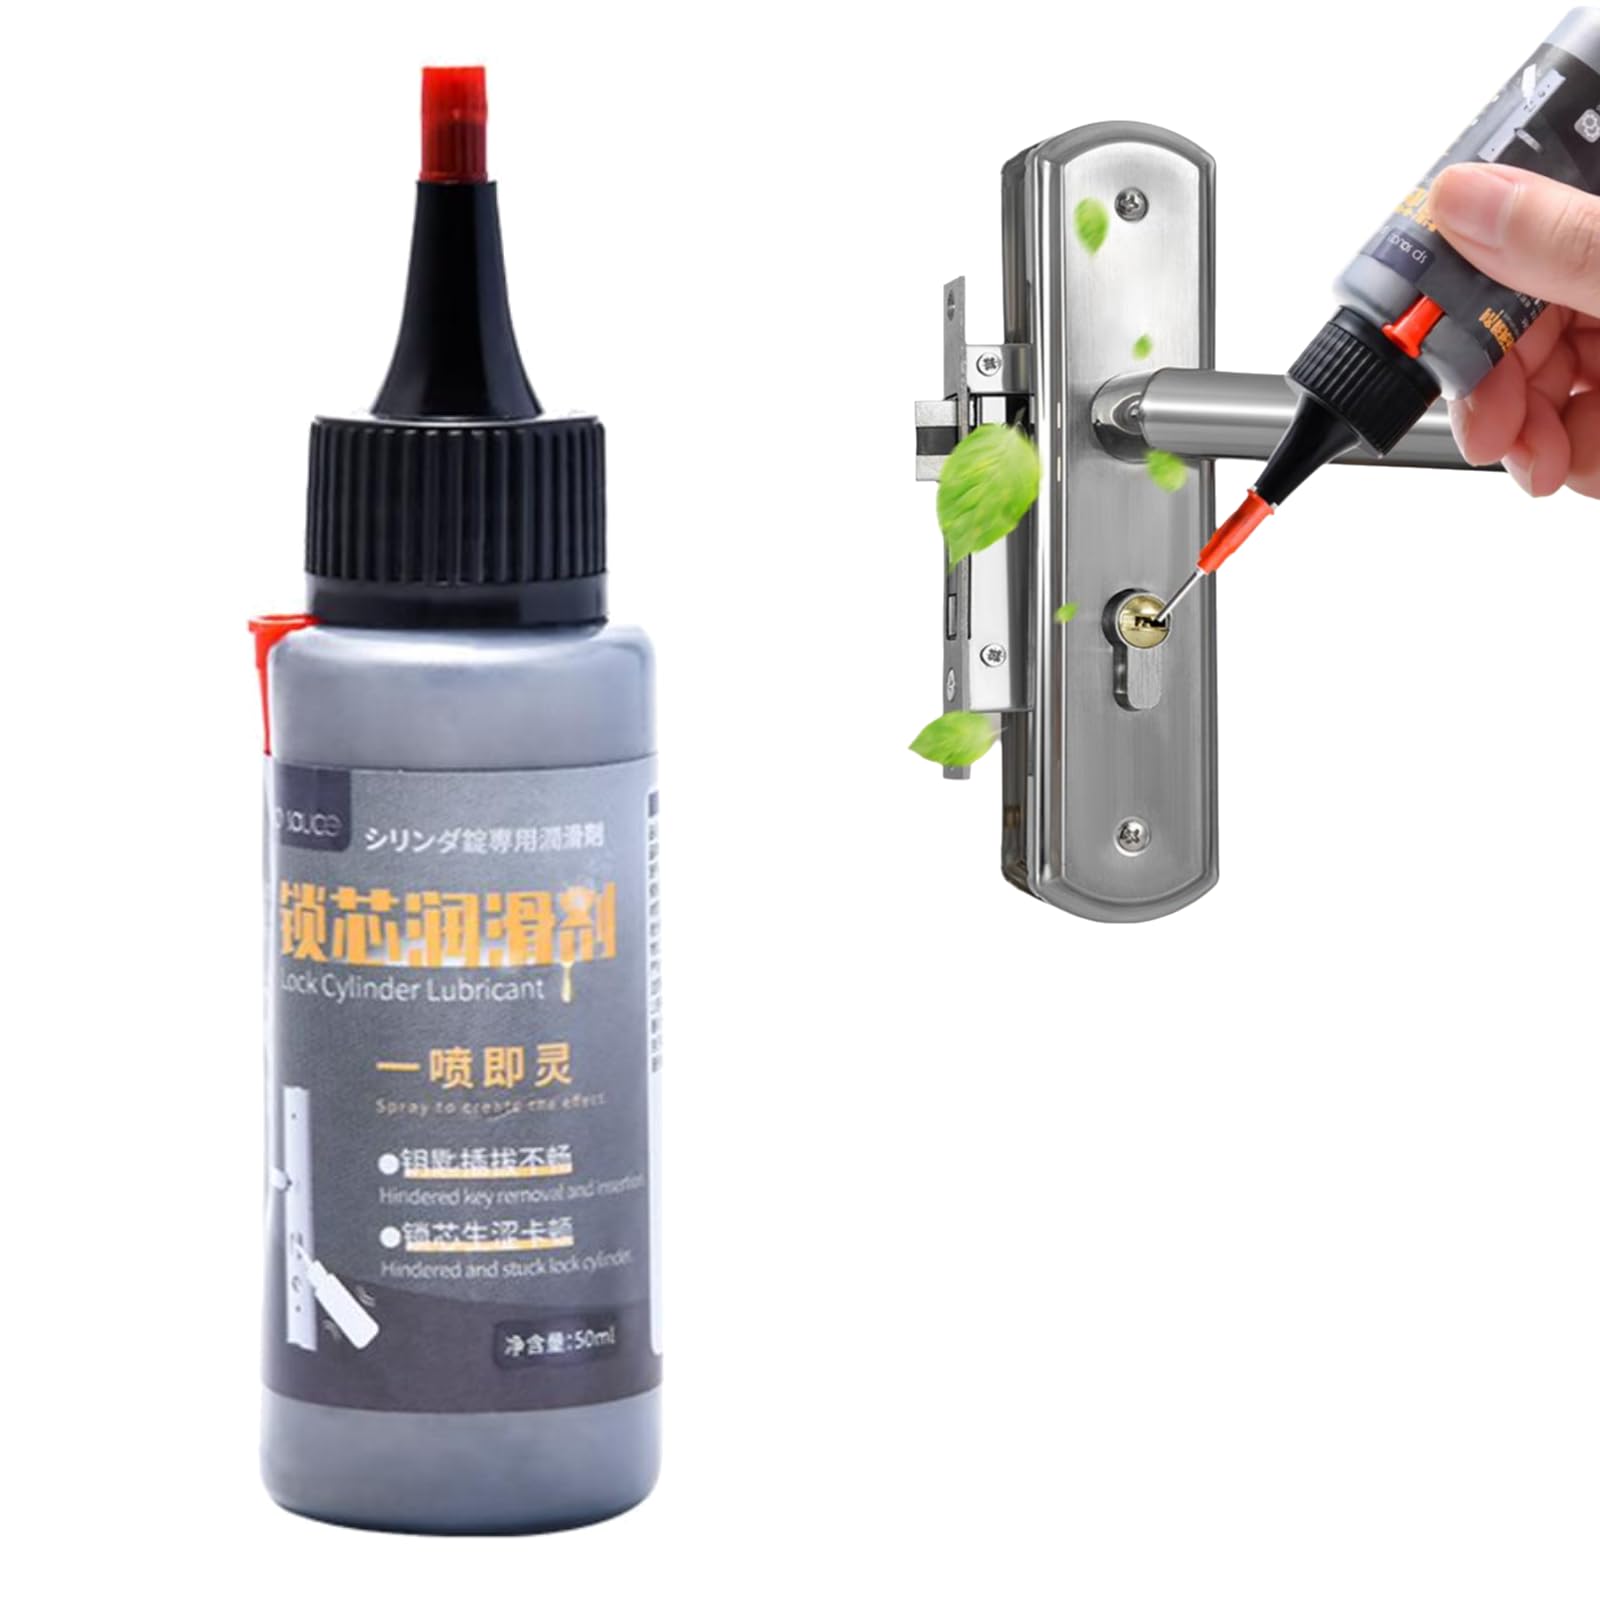
Stiffness is the most frequent deadbolt issue and often the easiest to resolve. Using the wrong lubricant can permanently damage the internal components.
Use Dry Graphite Instead of WD-40
Avoid oil-based sprays like WD-40 or silicone because they attract dust. These substances form a gummy paste that clogs the cylinder over time.
* Use dry graphite lubricant exclusively for best results.
* This powder-based solution leaves no residue behind.
* It resists dirt buildup effectively inside the mechanism.
Apply Graphite Correctly
Follow these steps to lubricate your lock without creating a mess.
1. Spray a small amount lightly into the keyhole using one or two short bursts.
2. Insert your key and turn it back and forth five to ten times.
3. Wipe excess graphite from the key and lock face with a paper towel.
4. Repeat the process two or three times if the stiffness persists.
Warning: Graphite stains skin, fabric, and carpets black, so lay down paper towels first.
Lubricate the Bolt Mechanism
Remove the interior back plate if your cylinder design allows access. Spray graphite directly onto the bolt and latch assembly to ensure full coverage. Manually slide the bolt in and out to distribute the lubricant evenly before reassembling.
Adjust Internal Alignment
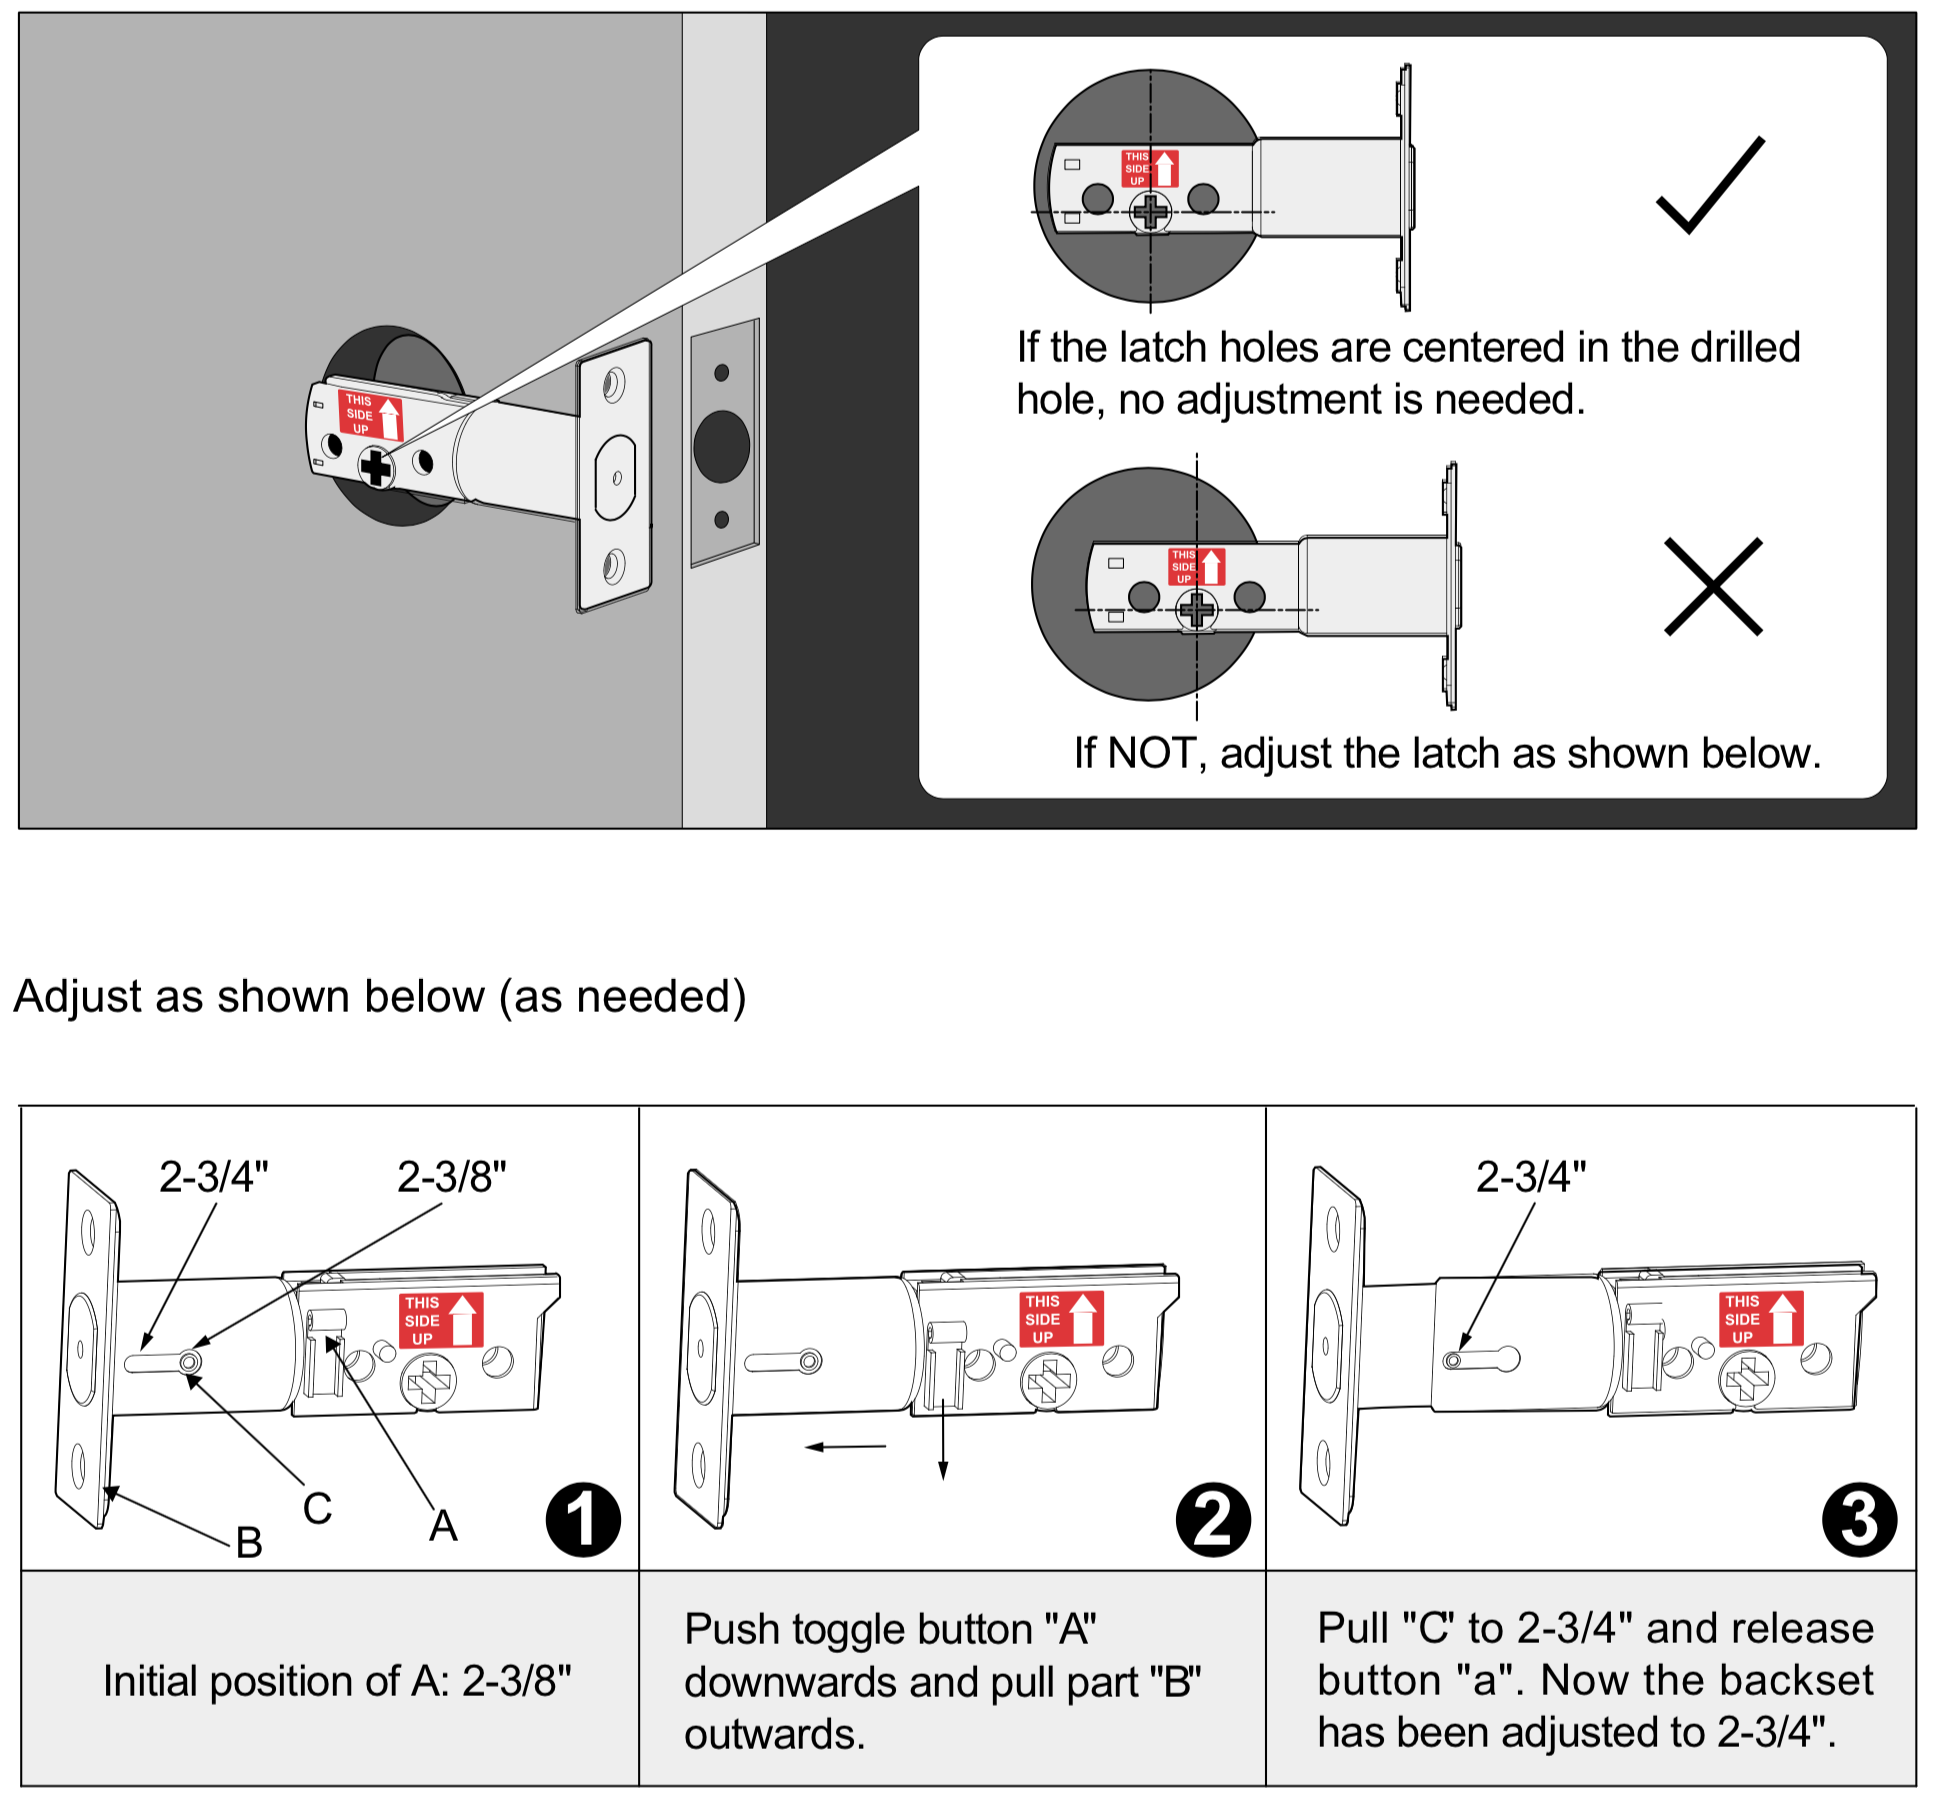
Binding can persist even after lubrication if the deadbolt housing sits under tension. Improper mounting screws often cause this internal misalignment issue.
Loosen and Realign the Housing
Relieve pressure on internal components by adjusting the mounting screws.
1. Slightly loosen the two mounting screws on the interior side of the door.
2. Gently wiggle the deadbolt assembly while testing the key turn.
3. Find the specific spot where the key turns smoothly without resistance.
4. Hold this position and retighten the screws securely.
Test Multiple Keys
Try different keys associated with the same lock to rule out key damage. If one key turns easily and another does not, the stiff key may be worn or bent. Clean the problematic key with rubbing alcohol and a cloth before attempting further repairs.
Fix Door and Strike Plate Misalignment

The lock likely works when the door is open but sticks when closed due to structural issues. The bolt is hitting the frame instead of entering the strike plate cleanly.
Inspect the Strike Plate
Examine the area where the bolt enters the door frame for visual clues. Look for scratches on the top or bottom of the bolt and gouge marks indicating angular entry. Check for raised wood fibers inside the recess or paint buildup blocking the path.
File the Strike Plate Opening
Enlarge the hole slightly if the bolt rubs against the metal plate.
1. Loosen the strike plate screws slightly to allow movement.
2. Use a metal file or Dremel tool to remove metal from the hole edge.
3. Remove material in small increments and test the bolt after each pass.
4. Avoid over-filing the opening as this weakens the door frame security.
Trim Obstructing Wood
Use a sharp chisel or utility knife if wood fibers block the bolt path. Carefully shave down any raised material inside the strike plate recess. Test the bolt entry after every cut to ensure a smooth fit without forcing the door.
Reposition the Strike Plate
House settling often shifts door alignment over time and requires plate adjustment. Loosen the screws and shift the plate up, down, or sideways to match the bolt path. Install a strike plate extender or use longer screws for larger gaps.
Replace the Lock Cylinder
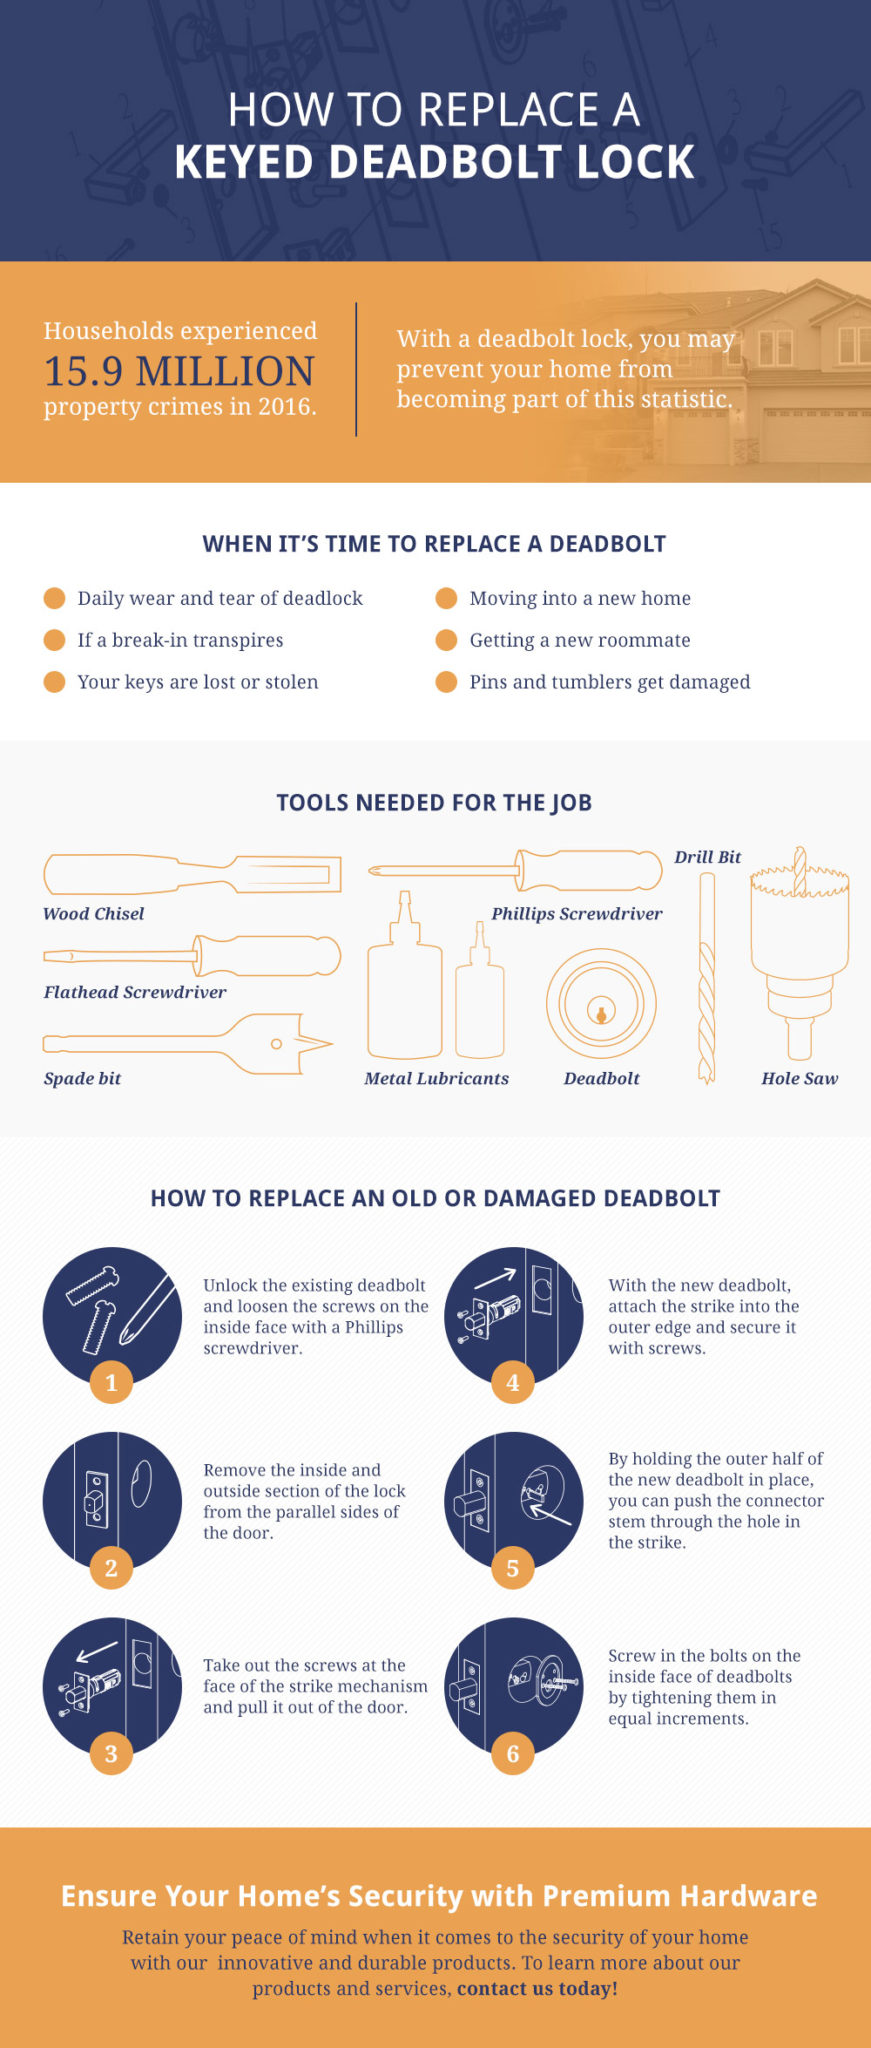
Replacement becomes necessary when lubrication and alignment fail to fix the problem. A worn cylinder is affordable to replace and restores full functionality quickly.
Remove the Old Cylinder
Start by unscrewing the two interior mounting screws holding the unit together. Remove the back plate and pull the entire cylinder assembly out from the door edge. Keep the screws safe for the new installation.
Install a New Cylinder
Insert the new cylinder into the outer housing and align it properly. Reattach the interior back plate and secure it with the provided screws. A local locksmith can perform this service for $15 to $25 if you prefer professional help.
Upgrade with Smart Key Technology
Smart Key systems allow you to rekey the lock yourself without professional assistance. This technology solves issues related to lost keys or security breaches efficiently.
What Is in a Smart Key Kit?
These kits contain all necessary components for a complete upgrade.
* Exterior and interior cylinders with male and female connectors.
* Deadbolt assembly and reversible face plate.
* Brass rekeying tool and installation instructions.
* Two sets of screws including standard and tamper-resistant options.
Prepare for Installation
Keep the existing face plate if it remains in good condition. Use original long screws if deeper anchoring is needed for your specific door thickness. Confirm connector orientation with the interior being male and exterior being female.
Install the New Deadbolt
Follow this sequence to ensure proper assembly of the new unit.
1. Remove the old unit completely using a slotted screwdriver.
2. Discard the protective paper behind the interior cylinder small plate.
3. Insert long slotted screws through the interior cylinder into the deadbolt body.
4. Align male and female connectors and tighten the screws securely.
5. Reattach the small plate with Phillips screws and test bolt movement manually.
Rekey to Your Original Key
Program the lock to accept your existing house key using the included tool.
1. Insert the brass rekeying tool into the cylinder slot.
2. Insert the new key from the kit and turn it 90 degrees right.
3. Push the small end of the tool fully in and pull it out while keeping the key.
4. Insert your original house key and turn 90 degrees left then right.
5. Try to remove the key. If it stays put, the rekeying was successful.
Boost Security with Smart Upgrades

Modern deadbolts offer features that actively deter break-ins and improve safety. Upgrading during repair provides an opportunity to enhance overall home security.
Use Tamper-Resistant Screws
Install the provided irreversible Phillips screws during installation. The heads break off after tightening to prevent external disassembly. This forces intruders to destroy the lock completely to remove it.
Install Double Cylinder Deadbolts
These locks require a key on both sides of the door for operation. This configuration prevents exit without a key and increases intruder detection risk. Only use this where fire egress codes allow safe emergency exit.
Maintain Your Deadbolt Long-Term
Regular maintenance prevents future issues and extends the life of your hardware. Simple habits keep your deadbolt functioning smoothly for years.
Lubricate Every 6 to 12 Months
Apply dry graphite lubricant to the keyhole and bolt mechanism twice a year. Wipe away any excess to avoid messes on your hands or clothes. Consistent lubrication prevents dirt accumulation and stiffness.
Inspect Keys and Lock Face
Keep spare keys clean and dry to avoid introducing contaminants. Wipe keys before use and replace any that appear bent or heavily worn. Regular visual checks help you catch problems early.
Check Alignment Quarterly
Close the door slowly every few months and listen for scraping sounds. Look for new wear marks on the bolt that indicate shifting. Adjust the strike plate immediately if you notice any binding.
Rekey After Security Risks
Replace or rekey locks immediately after losing keys or moving into a new home. Change locks if tenants or service workers had access and you suspect duplication. Prompt action ensures your home remains secure against unauthorized entry.
Frequently Asked Questions About Deadbolt Lock Repair
Can I use WD-40 to fix a sticky deadbolt?
No, you should never use WD-40 or oil-based lubricants on deadbolts. These products attract dust and create a gummy residue that clogs the cylinder. Always use dry graphite lubricant for safe and effective results.
How do I know if my strike plate is misaligned?
Perform the open-door test to see if the lock works smoothly when the door is open. If the bolt sticks only when the door is closed, the strike plate is likely misaligned. Look for scratch marks on the bolt or frame for confirmation.
How often should I lubricate my deadbolt lock?
You should apply dry graphite lubricant every six to twelve months for optimal performance. Regular lubrication prevents dirt buildup and ensures smooth key operation. Increase frequency if you live in a dusty or humid environment.
Can I rekey my lock to keep using my original key?
Yes, Smart Key technology allows you to rekey the lock yourself using your original key. The process involves a special tool and takes only a few minutes to complete. This saves money compared to calling a professional locksmith.
What tools do I need for deadbolt lock repair?
Basic repairs require Phillips and slotted screwdrivers plus dry graphite lubricant. Structural adjustments may need a metal file, chisel, or Dremel tool. Rekeying requires the specific brass tool included with Smart Key kits.
Key Takeaways for Successful Deadbolt Lock Repair
Proper diagnosis separates mechanical failures from structural misalignment issues effectively. Using dry graphite instead of oil-based sprays prevents long-term damage to your lock cylinder. Simple adjustments to the strike plate or housing often resolve sticking problems instantly.
Start with the open-door test to identify your specific issue before attempting repairs. Apply the correct lubrication technique and adjust alignment screws for immediate improvement. Consider upgrading to Smart Key technology if you need to rekey for security reasons.



